
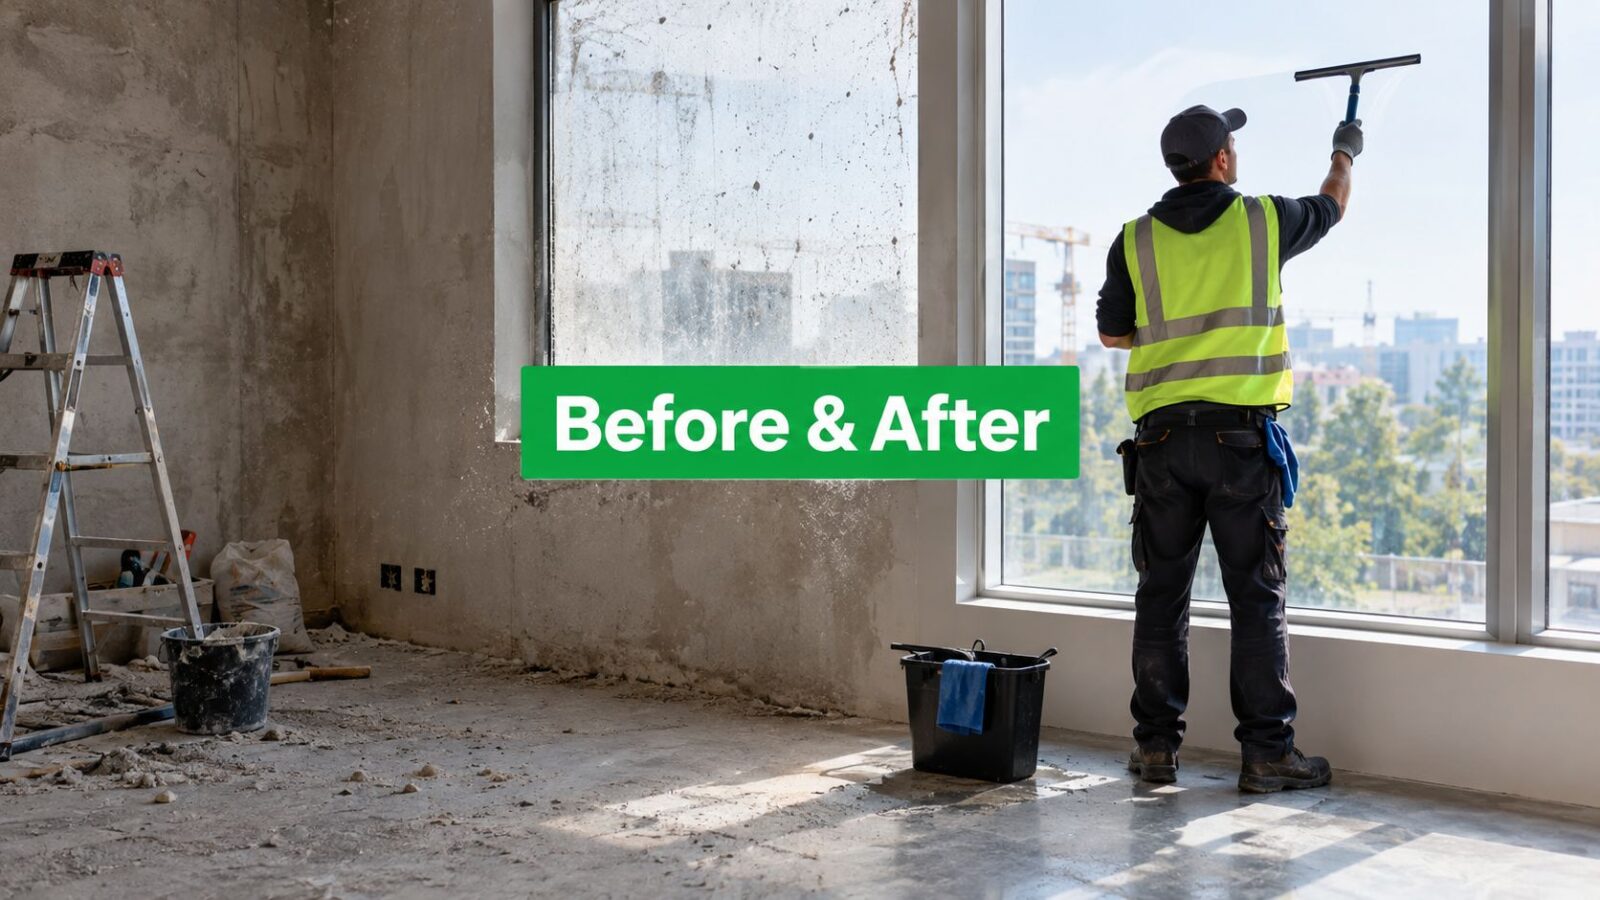
You've just finished a remodel or new build. The cabinets are installed, the floors are protected, and the last trades have left, but the house still feels like a jobsite. Fine dust sits on the glass, grit collects in the window tracks, and a room that looks finished from across the floor reveals paint specks, adhesive marks, and drywall haze when sunlight hits it.
That's the difference between post construction cleaning before and after. A professional result doesn't come from one rushed wipe-down. It comes from staging the work, allowing dust to settle, controlling recontamination, and treating windows and screens as a specialized part of the project.
What a Real Post Construction Before and After Looks Like
Walk into a properly finished room on move-in day and the improvement is easy to feel before you identify every detail. Sunlight passes cleanly through the glass. Baseboards don't carry a gray dust line, floors feel smooth instead of gritty, and new fixtures are free of paint specks and installation residue.
The small details tell you whether the crew worked carefully. Window tracks are unmarked, switch plates aren't cloudy, grout lines have no dust streaks, and cabinet edges don't hold a chalky film. Mirrors look clear rather than smeared, while hardware feels clean to the touch instead of tacky from adhesive or silicone.

The week before move-in
A week earlier, that same room may have had protective film, packaging, offcuts, and drywall dust scattered across the floor. Even after the visible debris is removed, skim-coat film can remain on tile, fine dust can coat interior glass, and silicone smears can sit on new mirrors. These residues are easy to miss under flat overhead lighting and obvious under low sunlight.
A rushed cleanup often looks acceptable in a listing photo but fails close inspection. Dust falls from high ledges onto freshly wiped floors, glass shows a haze from certain angles, and tracks remain packed with grit that gets dragged back across the sill every time the window moves.
A finished room should hold up under normal daylight, close inspection, and ordinary use, not just look clean from the doorway.
Before comparing your own project, it helps to understand what should be removed before the detail crew starts. This homeowner's debris removal guide offers useful context on clearing bulky waste and leftover material so detailed cleaners can work on surfaces instead of working around a cluttered site.
For a practical visual benchmark, compare the transformation with Pine Country Window Cleaning's before and after cleaning photos. Look beyond shine. Check whether the edges, tracks, screens, and frames received the same care as the center of the pane.
The Three Phases of Post Construction Cleaning
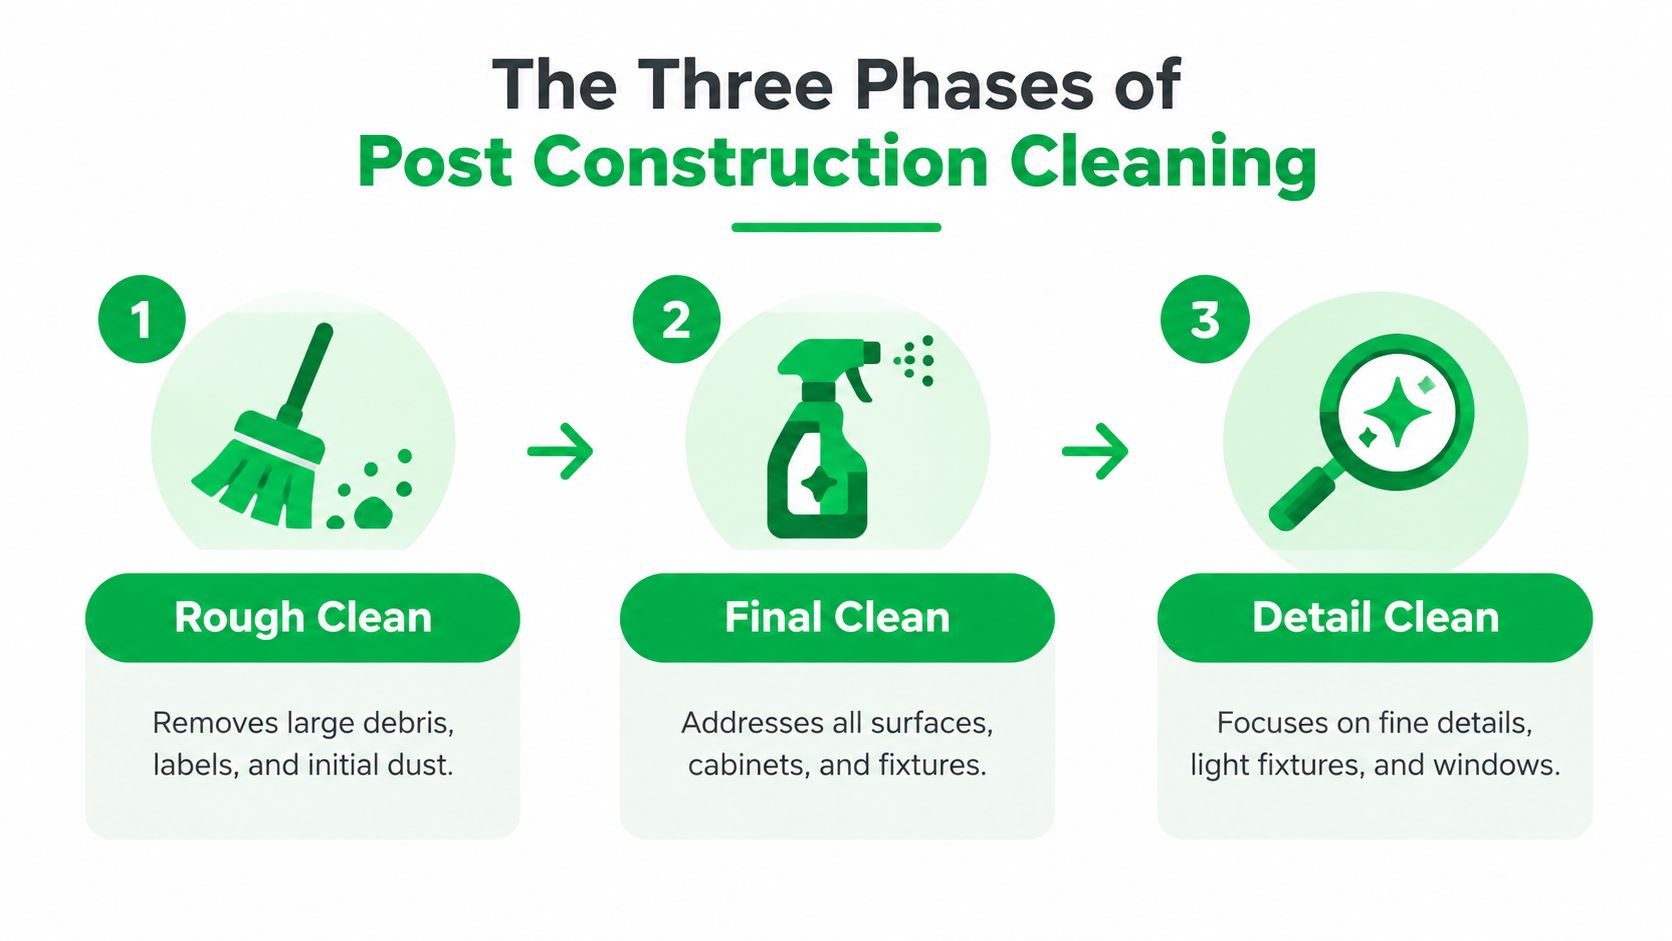
A reliable workflow moves from rough clean to detail clean to final clean. Commercial checklists commonly describe these as three distinct phases, and the sequence takes a property from debris removal to residue elimination and then to move-in readiness through this commercial post-construction cleaning checklist.
Rough clean removes the site from the work
The first pass handles large debris, labels, packaging, protective film, leftover materials, and the heavy layer of dust that makes the space difficult to work in. Crews clear walkways, remove material from rooms, and collect debris before attempting delicate surface work.
This phase may happen repeatedly while trades are still active. A rough clean isn't supposed to create a move-in finish. It creates safe access and prevents bulk material from being dragged across new flooring or pushed into corners.
Detail clean works from high to low
Once major work is complete, cleaners address overhead surfaces, walls, trim, cabinet interiors, fixtures, bathrooms, kitchens, doors, and floors. The order matters. Dust on ceiling details, vents, light fixtures, and wall tops must be removed before lower surfaces are wet-cleaned.
For fine particulate control, construction cleaning guidance from the National Cleaning Authority supports HEPA-filtered vacuuming followed by wet cleaning. A HEPA filter is defined there as capturing 99.97% of particles at 0.3 microns. OSHA's respirable crystalline silica limit is 50 micrograms per cubic meter averaged over 8 hours, making dust-control equipment a safety concern as well as a finish-quality concern.
Final clean catches what the eye finds
The last phase focuses on visible details, including switch plates, vent grilles, handles, glass, mirrors, frames, tracks, and touch-up areas. Window frames and sills belong in the detailed workflow, while exterior glass is often addressed during the final presentation pass as shown in this phase checklist.
Some projects can complete the phases on the same day when the debris load is light and trades are fully finished. Dust-heavy remodels, large commercial interiors, and multi-room properties are better split across days, especially when the site needs time for particles to settle before the final inspection.
Why Timing Between Phases Changes the Outcome
The final detail pass is often scheduled 24 to 48 hours after construction ends, allowing particles to settle before the last wipe-down according to this post-construction cleaning guidance. That pause isn't wasted time. It gives the crew a chance to remove dust that was still airborne during the deep clean.
Construction residue can include silica, gypsum, and concrete particulate. Door movement, people walking through the property, and HVAC operation can disturb settled dust and move it onto horizontal ledges, tracks, frames, and glass. A cleaner who finishes too early may leave the property looking excellent at departure, only for a visible film to return before move-in.
Settling Times for Common Construction Dusts
| Dust Type | Particle Size | Typical Settle Time | Impact on Final Detail |
|---|---|---|---|
| Heavy debris dust | Larger particles | Often settles sooner under normal airflow | Remove during rough cleaning before surface detailing |
| Gypsum and drywall dust | Fine particulate | Can remain airborne longer and resettle after activity | May return to glass, tracks, ledges, and trim after cleaning |
| Concrete and silica-containing dust | Fine respirable particulate | Requires controlled removal rather than casual sweeping | Creates both surface-quality and exposure concerns |
The table describes the practical distinction crews see on site. Heavier material drops out first, while fine dust can keep circulating and land on surfaces after they've been cleaned.
A final clean performed too early can be technically thorough and still look incomplete on move-in day.
The health concern is substantial. One renovation study recorded average indoor PM10 above 3,500 μg/m3 during renovation, with levels still high before and after the work in the building study available through Hong Kong Polytechnic University. The same source describes renovation PM10 readings of 166 to 542 μg/m3 above a respirable-dust safety threshold.
That's why dry sweeping is a poor shortcut. OSHA silica housekeeping guidance forbids dry sweeping or dry brushing where it could increase respirable crystalline silica exposure unless lower-exposure methods aren't feasible, and it restricts compressed air unless effective dust capture is used under OSHA housekeeping guidance for silica. HEPA vacuuming, wet methods, containment, and an unoccupied HVAC cycle produce a more controlled handoff than sweeping dust from one room into another.
Windows Screens and Exterior Glass Done Right
Windows need their own workflow. General interior cleaners may wipe the center of a pane, but construction glass often has paint flecks, stucco splash, adhesive, silicone, grit, and residue in the frame and track. Those materials can scratch glass or spread into a larger smear if the crew starts with a rag and spray bottle.
Start with screens, tracks, and sills
Every screen should be removed, labeled, cleaned, and reinstalled in its original opening. Removing screens exposes the full frame and prevents dust from being trapped behind the mesh. It also lets the technician inspect for bent corners, damaged spline, or construction debris lodged along the edges.
The track and sill come next. A vacuum pulls grit from corners and weep holes before liquid is introduced. If water hits loose construction grit first, the debris turns into an abrasive slurry that can be pushed along the track or dragged across finished surfaces.
For homeowners who want to understand the screen portion in more detail, this guide to professional window screen cleaning explains why removal and careful reinstallation matter.
Use tools that match the residue
Interior glass is best handled with a controlled scrub and squeegee process. A two-bucket setup separates cleaner solution from rinse water, while a channel scrubber or microfiber sleeve loosens residue before the squeegee removes it. Neutral cleaners help limit chemical damage to adjacent finishes.
Exterior glass often requires a scraper stage for paint flecks or stucco splash, followed by a squeegee-and-tapply setup or a pure-water-fed pole. Pure-water brushes agitate the pane and rinse away loosened material without leaving the mineral residue associated with ordinary tap water. Water-fed poles also let trained technicians reach high glass while keeping their work consistent across the pane.
Frames, mullions, hardware, and sills are detailed after the glass work so drips don't re-stain a finished pane. Scraper blades must be appropriate for the glass and used with controlled technique. A careless blade can create permanent damage, while a rag can move silicone around until it becomes a wider transparent smear.
Construction windows aren't a spray-and-wipe job. The track, frame, screen, and glass each need a separate pass.
Reading Before and After Photos Like a Pro
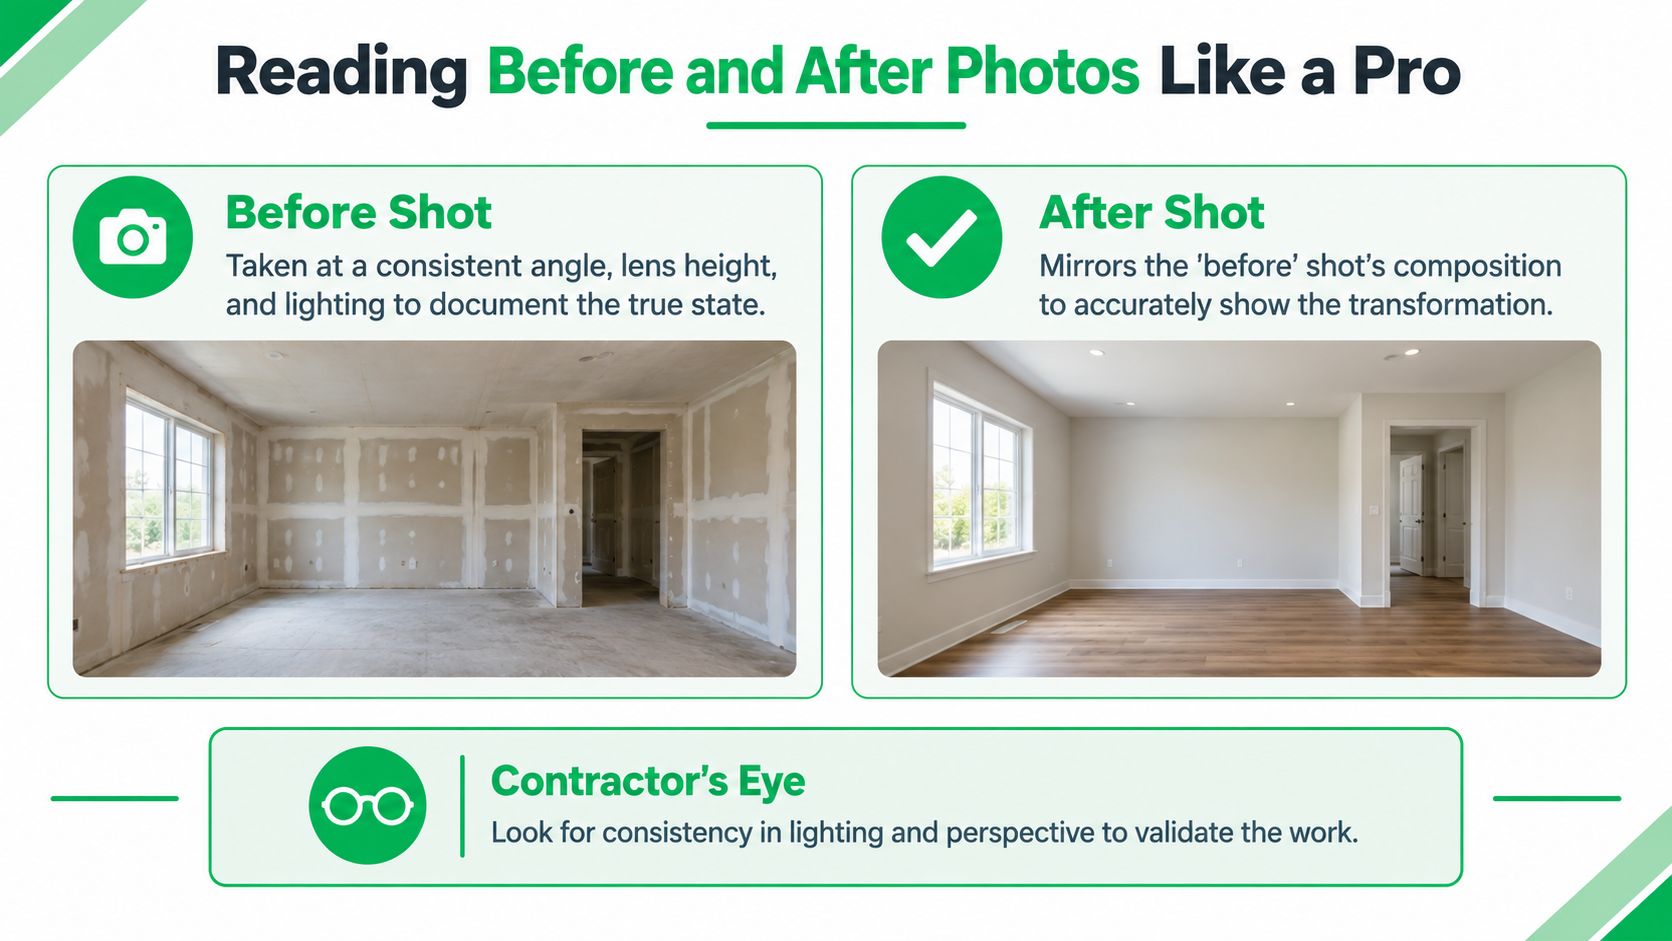
Before-and-after photos are useful only when they document the same condition from a comparable viewpoint. A strong comparison uses the same angle, lens height, and lighting. A tripod makes that easier, but even handheld photos can be honest when the photographer keeps the composition consistent.
The before image should reveal the actual work. Look for drywall haze on glass, paint drips, sticker adhesive on frames, concrete dust on sills, and residue around hardware. A staged image showing only boxes and clutter doesn't tell you whether the difficult cleaning has begun.
What a credible after image reveals
A good after photo mirrors the before photo. The glass edges are crisp, tracks are visibly clear, screens are installed, and frames show no fresh scratches or smeared residue. Floors should look even rather than merely wet, and the lighting should make it possible to inspect the surface instead of hiding haze in a shadow.
Use this quick review when evaluating a contractor's portfolio:
- Match the viewpoint: Confirm that the camera position and room composition are similar.
- Check raking light: Low-angle light can reveal haze and smears that disappear under overhead lighting.
- Inspect the margins: Look at baseboards, corners, tracks, sills, and edges, not just the center of the room.
- Verify screen completion: Screens still sitting in a garage or storage area indicate an unfinished window scope.
- Look for surface integrity: Clean frames should remain unscratched, and glass should be clear without distorted residue.
What rushed work tries to hide
A poor cleanup often photographs well because the camera is aimed at the broad transformation. The warning signs emerge at an angle. Hazy glass appears when sunlight strikes it, dust lines run along baseboards, and smears become visible only as you walk past the pane.
Those details matter because the handover standard is judged in normal use. A homeowner opens a window, turns on a light, walks across the floor, and sees the parts a wide-angle photo omits. Any crew, including Pine Country Window Cleaning, should be willing to document the difficult edges instead of presenting only a polished center shot.
Realistic Timelines and Costs by Property Size
Post-construction pricing should be built from the actual scope, not a generic national average. Square footage matters, but it doesn't tell the whole story. A smaller home with many divided panes, hard-water deposits, stucco splash, or damaged screens may require more window labor than a larger, open-plan property.
One commercial checklist states that a 5,000 square foot space typically needs 2 to 4 days for a complete post-construction final clean, depending on debris load and the number of rooms in this commercial cleaning checklist. The figures below are planning ranges, not fixed quotes, because local labor, access, finish sensitivity, and trade scheduling change the job.
Post Construction Cleaning Time and Cost by Property Size
| Property Size | Total Crew Days | Typical Crew | Estimated Cost Range (USD) | Window Line Item |
|---|---|---|---|---|
| Small home or cabin | Varies by debris and access | Small cleaning crew plus window technician | Quote after walkthrough | Priced separately by panes, screens, and residue |
| Mid-size residence | Varies by stories and finish level | Interior crew plus dedicated window pass | Quote by phase and scope | Separate line for interior, exterior, screens, and tracks |
| Large residence | Varies by room count and height | Multi-person cleaning crew and window specialists | Quote after site inspection | Equipment and access priced independently |
| Light commercial space | Often scheduled over multiple phases | Commercial cleaning crew plus window team | Quote by floor area, rooms, and handoff date | Separate commercial glass scope |
| Multifamily or hotel project | Scales with units and shared areas | Coordinated crews by building or zone | Quote by unit count and common-area scope | Window-only contract may be bid independently |
A proper estimate separates rough removal, final surface cleaning, and detail work. Window cleaning deserves its own line because screens, tracks, exterior access, paint flecks, and high glass require different tools and labor than interior dusting.
The variables that move the price
Pane count and divided-light windows increase handling time. Screen condition affects removal and reinstallation. Hard-water deposits, stucco splash, silicone, adhesive, and paint residue can turn routine washing into restoration work. Occupancy deadlines may require additional coordination, while travel distance affects scheduling for properties outside the usual service area.
For a clearer explanation of hourly and scope-based window pricing, review Pine Country Window Cleaning's post-construction cleaning rates. The key question isn't, “What's the price per square foot?” It's whether the estimate identifies the work that makes the before-and-after difference visible.
Hiring Tips and What to Expect From a Pro Crew
Ask operational questions, not just whether a company “does post-construction cleaning.” The strongest predictor of the result is how the crew controls dust and separates incompatible work.

Questions worth asking before booking
- Separate window scope: Does the company separate interior dusting from exterior glass and window-track work?
- Dust-control method: Will the crew use HEPA-filtered vacuums, wet methods, or another approach that avoids spreading fine particulate?
- Phase timing: What happens between the rough clean and the final detail pass?
- Insurance and safety: Can the company provide site-specific insurance documentation and explain how technicians work around new finishes and raised glass?
- Touch-up policy: Who handles residue found during the final walkthrough, and when will that visit occur?
Day one should begin with a walkthrough, not a bucket coming through the front door. The crew should identify finished floors, fragile surfaces, access limitations, remaining trades, open punch-list items, and the areas that need protection. A written scope or punch list keeps “clean” from becoming a vague promise.
What to push back on
Be cautious about fogging, unnecessary sealants, and add-ons that don't address the actual residue. A coating won't replace dust removal from tracks, frames, ledges, and vents. If the crew can't explain what a product does, where it belongs, and how it affects the finished surface, leave it out of the scope.
A specialized window company can keep glass work out of the interior dust cycle. Pine Country Window Cleaning, founded by Flagstaff native David Kaminski, has operated since 1999 and uses squeegees, ladders, poles, pure-water brushes, screen removal and cleaning, and equipment suited to residential and commercial access. The company also emphasizes care for customers' homes, including careful handling and reinstallation of screens with every service.
Print this checklist before hiring:
- Scope: Rough, final, detail, and window work are written separately.
- Sequence: The crew explains top-to-bottom cleaning and dust control.
- Equipment: HEPA vacuums, squeegees, water-fed poles, suitable scrapers, and protective materials are available.
- Protection: Floors, cabinetry, fixtures, and landscaping have a clear protection plan.
- Verification: The final inspection includes glass, screens, tracks, sills, edges, and ordinary lighting conditions.
If your Flagstaff or Munds Park property still has paint specks, drywall haze, dusty tracks, or construction residue on the glass, visit Pine Country Window Cleaning to request a window cleaning estimate. Their technicians can handle screens, interior and exterior glass, frames, tracks, and difficult-access windows as a dedicated part of your post-construction handoff.