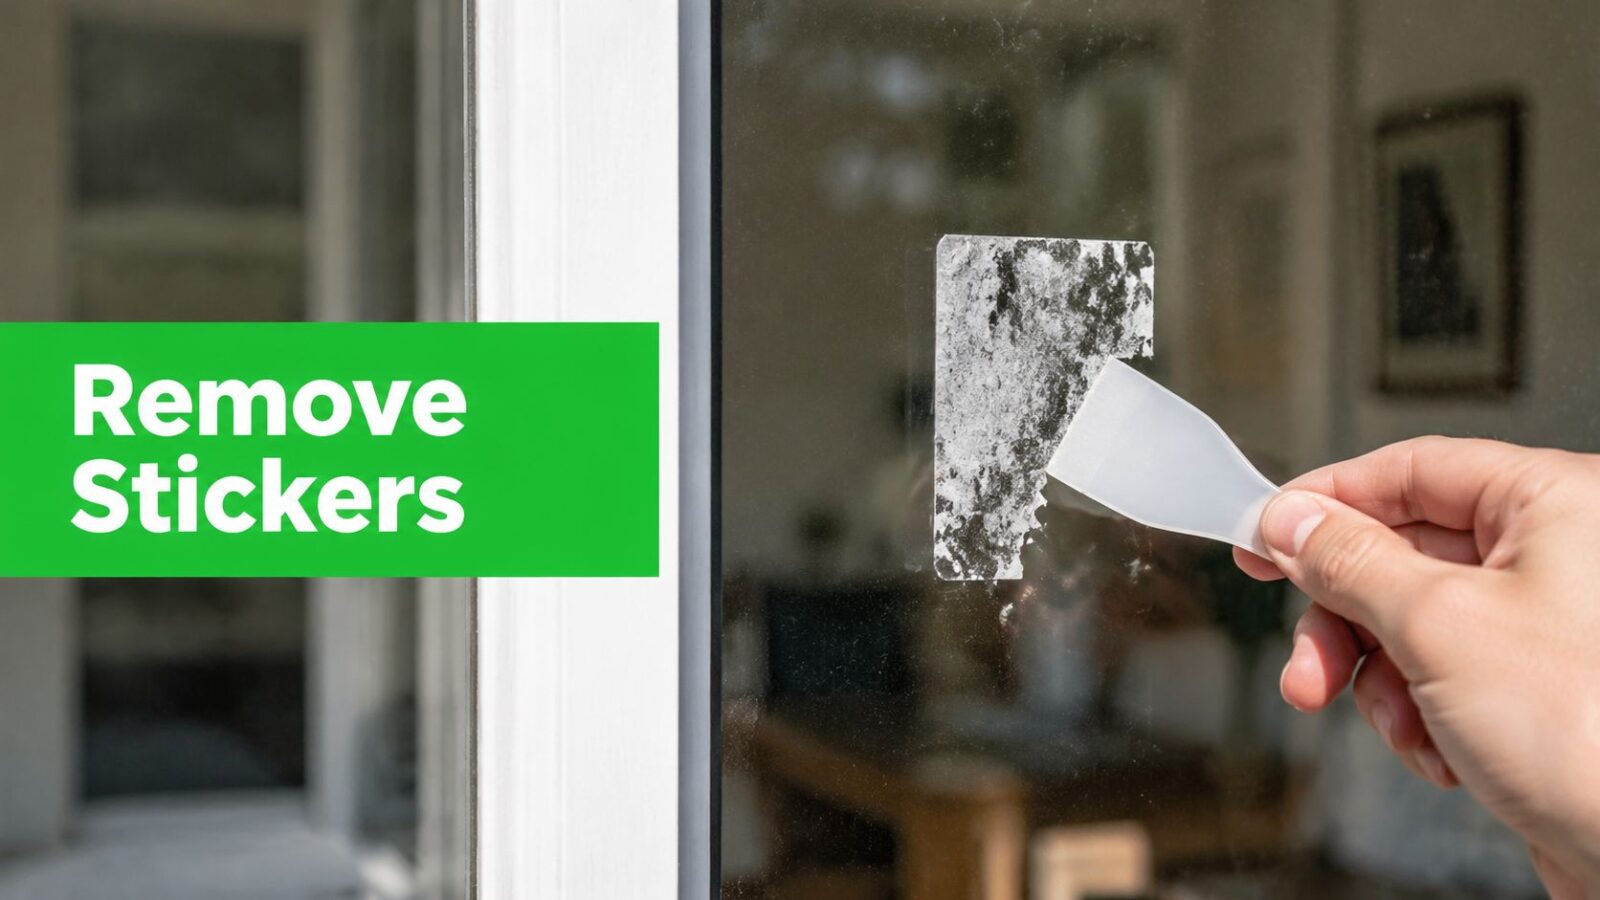
A sticker on a window usually starts as a small annoyance. Then you try to peel one corner, the face tears off, and what's left is a glued-on film that catches dust and looks worse every day.
That happens on house windows, storefront glass, car glass, and brand-new windows fresh from installation. In Flagstaff, it's especially common after a remodel, a move, or a season of kids treating the nearest pane like a sticker book. A common mistake is reaching for the first sharp thing in the drawer or soaking the glass with the wrong chemical.
There's a cleaner way to handle it. The best results come from matching the method to the glass, the adhesive, and the condition of the sticker. Some jobs are completely safe for DIY. Others can turn into scratched glass, damaged tint, or a bigger cleanup than you started with.
That Stubborn Sticker Staring You Down
A lot of sticker problems begin the same way. A price label on a window. A faded decal on a patio door. A manufacturer tag on newly installed glass that should have been removed sooner. You pick at it with a fingernail, then with a key, then with a kitchen scraper, and now the sticker is in pieces while the adhesive is still winning.
Professionals approach that mess differently. The glass gets checked first. The sticker gets identified. Dust and grit come off before any scraping starts. That order matters because dragging even a small bit of debris across glass can create damage you'll notice every time the light hits it.
The professional sequence matters
The accepted trade approach is a six-phase process: inspect the surface, pre-clean the glass, apply controlled heat, peel with a plastic scraper, apply a solvent for residue, and finish with final polishing. In that same process, using a plastic scraper reduces glass damage risk by over 95% compared with metal blades according to BannerBuzz's decal removal methodology.
That sounds simple, but the order is the difference between a clean removal and a scratched pane.
Practical rule: Start by asking what kind of glass you're touching. Plain glass gives you more options. Tinted, coated, or specialty glass does not.
In mountain homes and cabins, there's another wrinkle. Windows may be older, oversized, or exposed to bigger temperature swings. That doesn't make sticker removal impossible, but it does mean careless heat or aggressive scraping can create problems fast.
What usually goes wrong
Most bad DIY outcomes come from three habits:
- Picking too early: If the adhesive is still hard, the sticker tears instead of releasing.
- Using metal too soon: A sharp blade on the wrong surface can leave permanent lines.
- Ignoring residue: The paper comes off, but the adhesive stays and turns gray with dust.
People also treat every sticker like the same problem. They aren't. A child's sticker on a bedroom window behaves differently than a contractor label on new glass. A sun-baked rear window decal behaves differently than a fresh temporary cling.
When people ask how to remove stickers from windows, they usually want one universal trick. There isn't one. There is, however, a safest first move, and it works often enough that it should be your default before you try anything stronger.
Your First Line of Attack Safe Removal Basics
Heat is usually the cleanest opening move. It softens the adhesive so you're not trying to force a brittle sticker off cold glass.
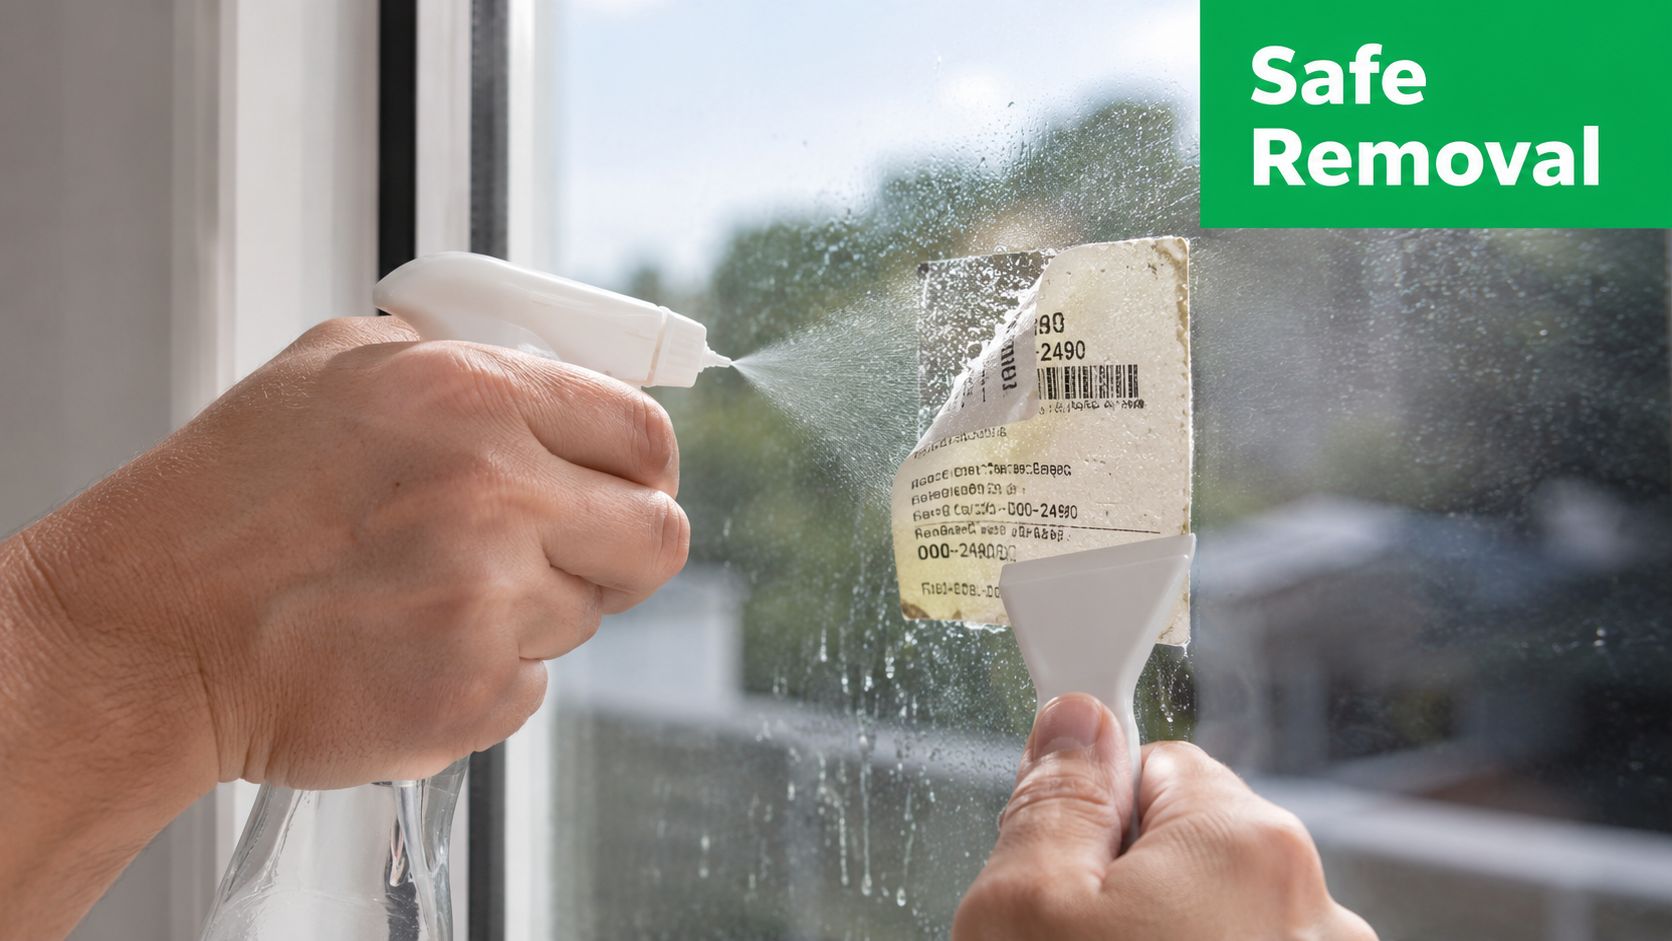
A hairdryer is the easiest tool for this because it gives you control without introducing a chemical right away. The method is straightforward, but the details matter.
The heat method that works
Applying hot air at about 140°F to 160°F (60°C to 71°C) for roughly 60 seconds can reduce adhesive viscosity by 70 to 80%, which is why the sticker often releases with very little resistance according to this glass sticker removal guide.
Use that as your target, not maximum heat for as long as possible.
- Clean the area first. Wipe away grit and dust so you're not grinding debris into the glass.
- Use a hairdryer on medium or high. Keep it moving over the sticker instead of blasting one tiny spot.
- Work the edge with plastic. An old credit card or plastic scraper is ideal.
- Peel while the adhesive is warm. Don't wait until it cools back down.
- Repeat if needed. A second heating cycle is better than forcing a stubborn section.
If you want a sense of the kinds of tools professionals prefer around delicate glass, this roundup of home window cleaning tools gives a useful baseline. The key is using tools that are firm enough to lift adhesive but less likely to scar the surface.
Pulling technique changes the result
There's a part most DIY articles skip. Pull speed matters. On modern high-tack adhesives, a slow peel often leaves more glue on the glass, while a faster pull can keep more adhesive attached to the sticker film itself. Mechanics discussions on rear-window decals describe this as a real difference in how the adhesive fails at removal.
That means once you've heated the sticker and lifted a clean edge, don't automatically creep along millimeter by millimeter. Test a steady, firmer pull while keeping the angle low and controlled. If the sticker starts to split, stop and reheat.
Heat should make removal easier, not dramatic. If you're straining, the adhesive probably isn't ready.
For a quick visual of a safe starting approach, this walkthrough is worth watching before you start:
Best DIY use cases
This first-line method is usually a good fit for:
- Recent stickers: Labels that haven't baked onto the glass for years.
- Small decals: One-off stickers on standard household glass.
- Low-risk locations: Ground-floor panes where you can work carefully and comfortably.
If the paper comes off but the adhesive remains, the job isn't over. That's the point where many people create scratches by rushing. Residue needs a different approach.
Tackling Stubborn Adhesive and Residue
The sticker face is often the easy part. The leftover glue is what keeps the window looking dirty even after the label is gone. Dust sticks to it. Sun highlights it. Every wipe seems to smear it around instead of removing it.
That residue responds best to patience, lubrication, and the right scraper for the surface.
Start with a solvent, not a blade
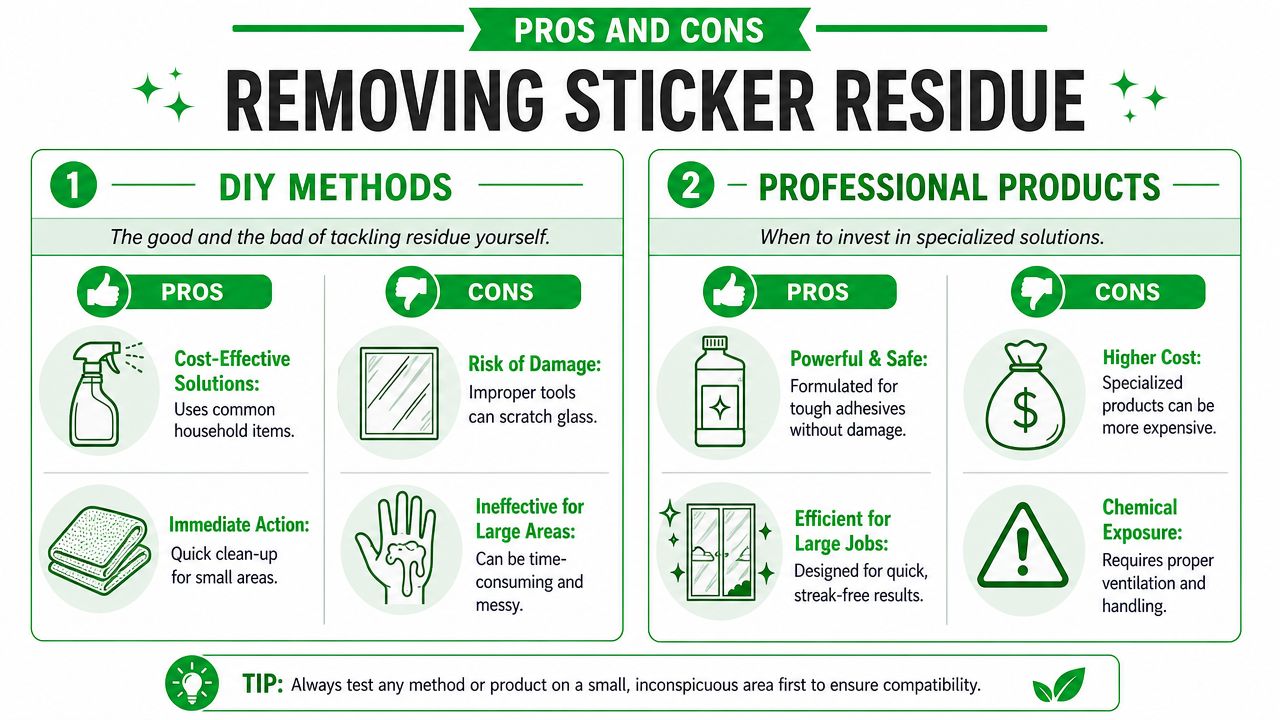
On standard glass, a residue remover can soften what heat didn't release. Rubbing alcohol is a solid starting point. If the adhesive is thicker or waxier, an oil-based approach can help break it down. The trick is letting the product sit on the residue instead of rubbing immediately.
If you're already dealing with mineral buildup or old film on the pane, this guide on removing hard water stains from windows is useful because residue problems often overlap. Sticky glue and hard water can mask each other and make a window look permanently cloudy when it isn't.
When a razor blade is appropriate
A razor blade is a professional tool, but only on the right glass and only with the right technique. On bare, untinted glass, using a razor blade at a 15 to 20 degree angle with lubrication is the safe standard. Professional cleaners are blunt about it: “DON'T EVER SCRAPE DRY GLASS,” because dry scraping raises the risk of permanent scratching by over 90% according to this professional demonstration.
That warning matters more than the blade itself.
Here's the safe version:
- Flood the surface first: Use soapy water or a glass-safe lubricant so the blade glides.
- Keep the angle shallow: Too steep and the blade digs instead of lifts.
- Push gently under the residue: Let the edge slide beneath the adhesive film.
- Wipe the blade often: Built-up debris on the blade can scratch.
Dry scraping is where people get into trouble. Lubrication isn't optional.
A quick pros and cons view
| Method | Best for | Main downside |
|---|---|---|
| Plastic scraper and solvent | Light to moderate residue | Slower on heavy adhesive |
| Lubricated razor on bare glass | Stubborn, flat residue on untinted glass | Unsafe on tinted or coated surfaces |
| Oil-based paste approach | Gooey adhesive patches | Can leave film that needs cleanup |
If your sticker problem is on automotive glass with tint film involved, it helps to read a specialist resource before touching it. This guide to removing old car tint from The Tint Guy gives useful context on how delicate interior tint film can be and why the wrong scraper can do lasting damage.
Special Cases New Construction and Tinted Windows
Not every sticker belongs in the same category. Two situations create the most DIY mistakes: new construction stickers and tinted windows. Both look straightforward. Neither should be treated casually.
Why new window stickers fight back
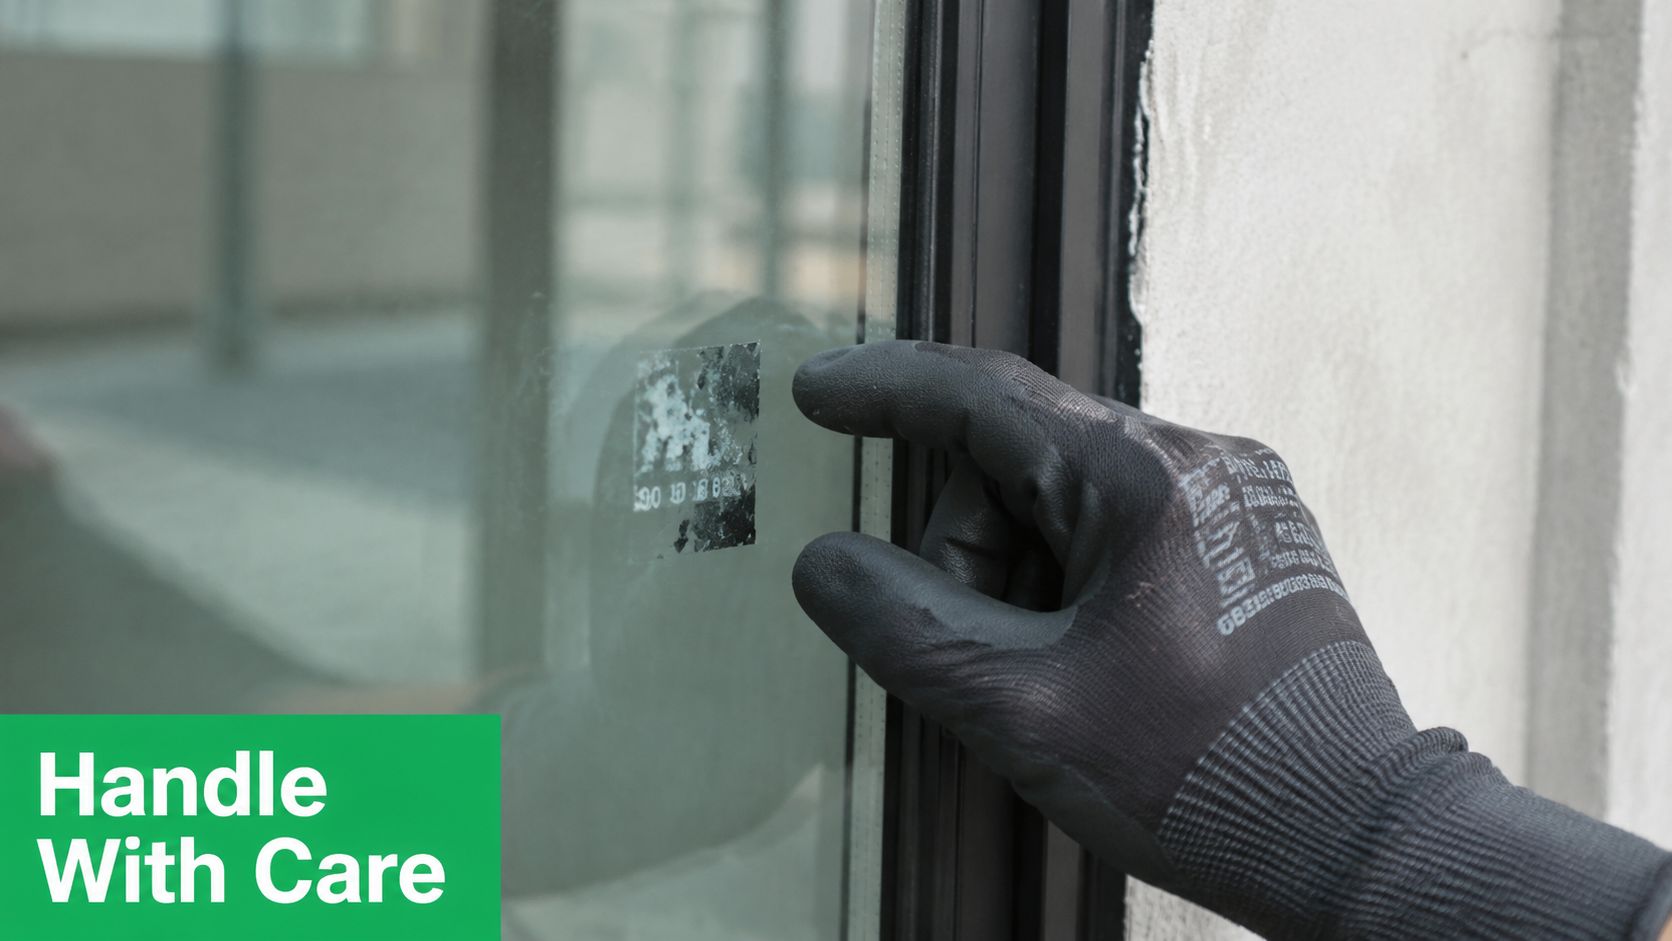
Factory-applied labels on new architectural glass often use stronger adhesive systems than ordinary retail stickers. That's why generic household advice can feel useless on a freshly installed pane. Warm water may barely touch it. Mild DIY methods can remove the paper layer while leaving the actual bonding layer behind.
There's an important exception to the usual online advice about cleaners. Generic guides often warn against ammonia-based products, but for new construction window stickers, ammonia is often needed to break down the industrial solvents used in factory adhesives, as discussed in this trade-focused community discussion.
That doesn't mean every homeowner should start spraying strong chemistry onto every new window. It means the adhesive type matters. The wrong cleaner wastes time. The wrong scraper on top of that can scar brand-new glass.
If you're dealing with builder debris as well as labels, this article on how to remove paint overspray from windows is a useful companion because post-construction glass rarely has just one issue.
Tinted glass changes the rules
Tinted windows need a different mindset. Interior tint is a film layer. If you scrape it like bare glass, you're not cleaning the surface. You're cutting into it.
Avoid these on tinted windows:
- Metal razor blades
- Aggressive scraping
- Harsh solvent guessing
- Heavy rubbing with abrasive pads
Use gentle heat, a soft cloth, and a plastic edge if needed. Test any solvent in a hidden area first. If the sticker is on the tinted side and it won't lift cleanly, that's usually the point where caution beats persistence.
On tinted glass, a minor sticker problem can turn into a tint replacement problem very quickly.
When to Call a Professional Window Cleaner
Sometimes the smartest move is to stop before a frustrating sticker job becomes a glass repair bill. That's especially true on second-story windows, large banks of storefront glass, expensive custom panes, and anything tinted, coated, or newly installed.
A professional brings two things that matter here. The first is judgment about what method the glass can tolerate. The second is equipment that makes the job controlled instead of improvised.
The situations where DIY stops making sense
Call a professional when you're looking at any of these:
- Height and access issues: Ladder work with one hand on a scraper and one hand on a frame is where simple jobs stop being simple.
- Large sticker volume: Renovation labels across many panes take time, consistency, and the right workflow.
- Specialty surfaces: Tinted glass, post-construction glass, and older windows all need more care.
- Perfect-finish expectations: If this is a storefront, listing photo shoot, or customer-facing building, residue haze isn't good enough.
In those jobs, sticker removal is rarely handled as a stand-alone task. It's part of restoring the whole pane to a clean, clear finish using professional tools like squeegees, ladders, poles, and pure-water brushes, not a rag, newspaper, or a quick spray-and-wipe approach.
Why local experience matters in Northern Arizona
Flagstaff homes and cabins see a mix of conditions that complicate sticker removal. You may be dealing with sun-baked glass, cold-weather install labels, dust from construction, or windows that are difficult to access safely. A local crew that works in those conditions every week tends to spot risks before they become damage.
That's one reason long operating history matters. Pine Country Window Cleaning was founded in 1999 by Flagstaff native David Kaminski and has grown to become Flagstaff's largest window cleaning company, serving Northern Arizona for over 25 years, as noted on the company's eco-friendly window cleaning page.
Professional service also means caring for the property, not just the glass. Good crews protect floors and furnishings, work carefully around frames and finishes, and leave the home better than they found it. They also handle the details homeowners often dread, including removing screens, cleaning screens, and reinstalling them properly with the service.
A broader standard of care
Window care is bigger than one sticker. Good service includes communication, safe access, clean edge work, and respect for the home or building. If you want another perspective on what homeowners should expect from a reputable service company, this guidance from Auckland Window and Door Services is a helpful comparison because it emphasizes the same fundamentals: clear process, proper equipment, and attention to property care.
The bottom line is simple. If the sticker is small, reachable, and on plain glass, a careful DIY approach is often fine. If the glass is valuable, high, tinted, newly installed, or covered with stubborn residue, hiring a pro is usually the safer and cleaner decision.
If you want help from a team that knows Northern Arizona glass, Pine Country Window Cleaning has been serving the area since 1999. They care for customers' homes the right way, use professional-grade window cleaning equipment, remove, clean, and reinstall screens with every service, and handle tough sticker and residue problems without turning them into scratched-glass headaches.