
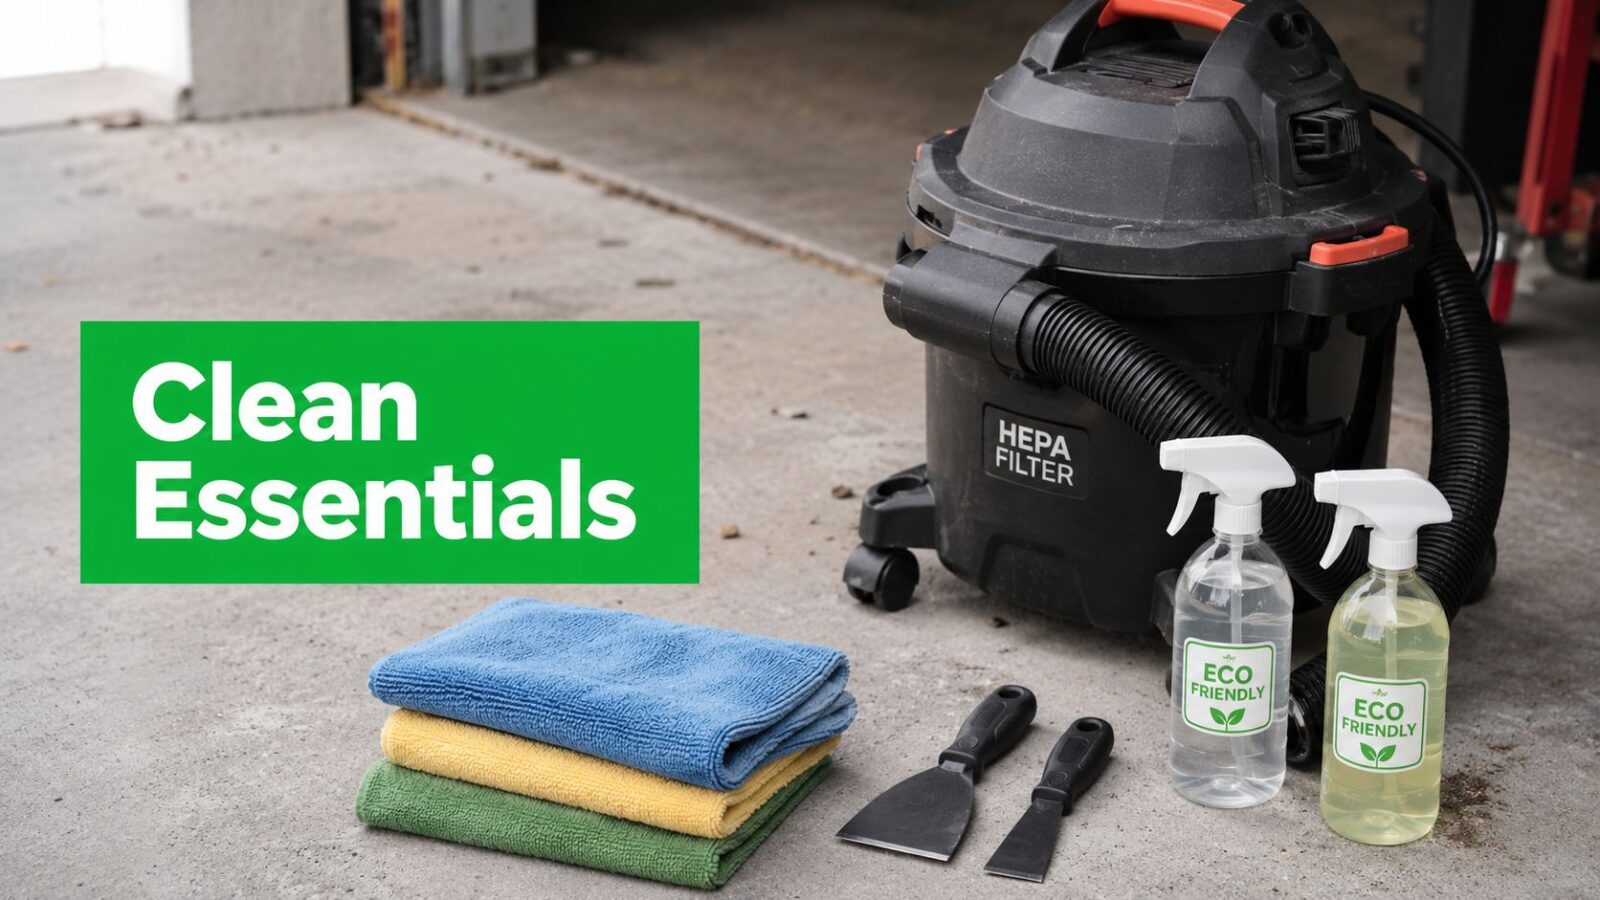
You've finished the remodel. The trades are gone. The cabinets are in, the floors look new, and every room should feel done.
Instead, there's a film of dust on the trim, grit in the window tracks, adhesive on the glass, and fine debris in places you haven't even touched yet. That's where it becomes clear that post construction cleanup isn't regular housekeeping with a few extra trash bags.
The problem isn't only mess. It's abrasive dust, fresh finishes, and fragile surfaces that can be damaged by the wrong tool in a single pass. Post construction cleaning supplies matter, but the order you use them matters just as much. If you want a space that's move-in ready, especially in Flagstaff where dust gets into every seam and track, you need a method that protects the property while it cleans it.
The Reality of Post-Construction Dust
Drywall dust, sawdust, concrete residue, insulation fibers, and paint overspray don't behave like normal household dirt. They spread farther, cling harder, and scratch faster.
That's why a post-construction clean starts with restraint. If you grab a household vacuum, a rag, and a spray bottle, you can turn a cleanup job into a damage claim. Fine construction dust is abrasive. Rub it across new glass, dark trim, stainless fixtures, or finished flooring, and you can leave marks that don't come out.
Why regular cleaning habits fail
A standard tidy-up assumes the dirt is loose and the surfaces are durable. Neither is true after construction.
Common mistakes include:
- Dry wiping dusty surfaces: That pushes grit into fresh paint and finished wood.
- Using a regular vacuum: It often recirculates fine particles instead of trapping them.
- Starting with floors: Dust from walls, vents, and trim just falls right back down.
- Treating windows like mirrors: Construction glass needs a separate process because of overspray, stickers, caulk, and embedded grit.
Post-construction cleaning also isn't only visual. Dust works into vent covers, cabinet interiors, light fixtures, and window tracks. If you miss those areas, the property keeps shedding debris for days or weeks.
Practical rule: If a surface still feels gritty under your hand, it isn't ready for wet cleaning or detailing.
Dust gets expensive fast
The hidden cost of a poor cleanup is rework. You clean twice, replace scratched materials, or bring in a specialist after damage is already done.
Professional crews approach this as a containment and removal job first. Bulk debris comes out. Fine dust gets captured, not stirred up. Delicate surfaces get identified before anyone starts scrubbing. That's the difference between making a property look clean and effectively protecting the investment.
For a closer look at the kind of debris that settles after a build, Pine Country has a useful page on construction dust cleaning in Flagstaff homes and buildings.
Your Essential Post-Construction Cleaning Arsenal
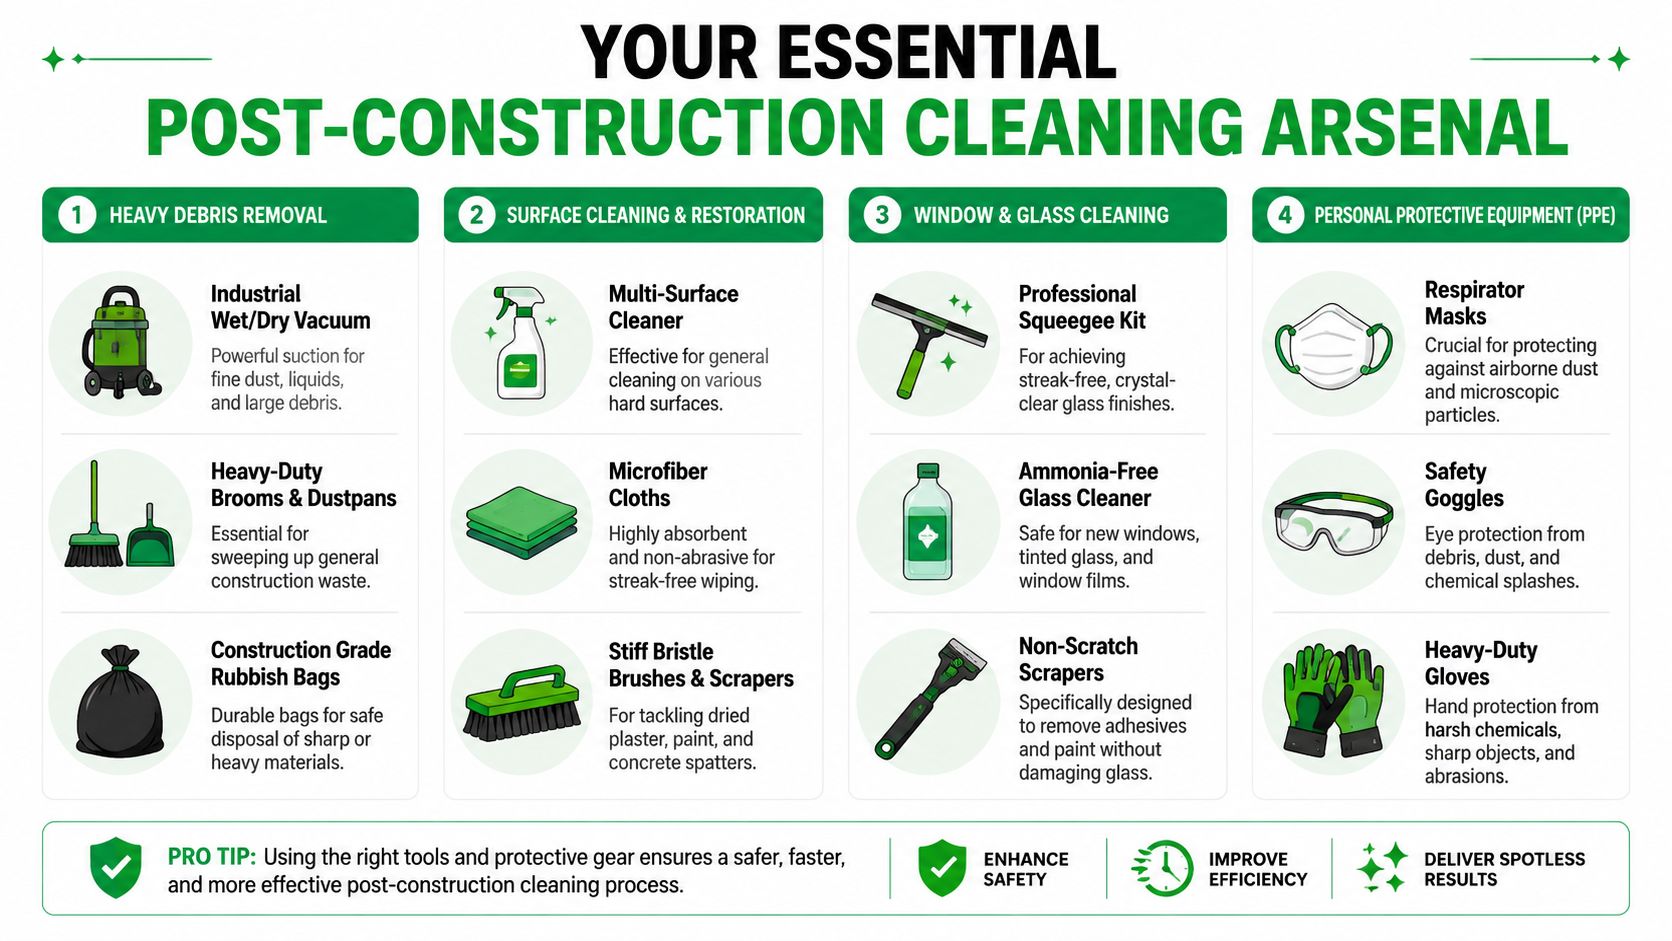
A proper supply list is built around dust capture, safe residue removal, and protection for finished surfaces. In Flagstaff, I also plan for extra grit coming in from outside. That matters on floors, tracks, and especially on glass, where a small amount of embedded debris can turn a quick cleanup into permanent scratching.
Start with dust capture
The first machine I want on site is a true HEPA vacuum. Fine drywall dust gets everywhere, and a vacuum with poor filtration puts part of it back into the air. A unit with strong suction, sealed filtration, and narrow attachments performs essential cleaning in corners, vent covers, cabinet interiors, and window tracks.
Microfiber matters too, but only if you keep it sorted by task. Glass towels should never touch gritty sills or baseboards first. Once a towel picks up abrasive dust, it is no longer safe for detailing glass, dark fixtures, or glossy finishes.
Keep these on hand:
- High-pile microfiber cloths for first-pass dust pickup on trim, shelves, and ledges
- General utility microfiber for cabinets, fixtures, and washable surfaces
- Glass-only microfiber towels for frames, edges, and final detailing
- Soft detail brushes for louvers, hardware, and track corners
- Vacuum crevice tools for channels, joints, and tight finish work
Supplies by function
Grouping supplies by task keeps crews from using the wrong tool on the wrong surface.
| Task | Recommended Supply | Practical Use |
|---|---|---|
| Debris removal | Heavy-duty contractor bags | Holds broken-off material and sharp scraps without tearing mid-carry |
| Fine dust removal | HEPA vacuum | Pulls dust out before any wet work starts |
| Large debris collection | Push broom and dustpan | Best for chunks and scraps, not for fine dust on finished floors |
| Wet cleaning | Mop, wringer, and two buckets | One bucket for rinse water helps reduce muddy streaks |
| Detail wiping | Microfiber cloths by color or label | Keeps glass towels away from gritty work |
| Residue removal | Plastic scraper and white non-abrasive pad | Safer for finished surfaces than metal blades or harsh pads |
| Spot treatment | Neutral cleaner and residue-specific remover | Lets you match the chemistry to the residue instead of guessing |
| Window track cleanup | Small brushes and narrow vacuum tools | Clears dry debris before moisture turns it into paste |
What belongs in the cart
Some items are used on nearly every job. Others depend on the size of the building and the stage of the clean.
A solid basic kit includes contractor bags, a HEPA vacuum, a push broom, dustpan, mop setup, labeled microfiber cloths, plastic scrapers, non-abrasive pads, detail brushes, and a few controlled-use cleaners. For larger commercial interiors, crews may also need floor machines, extension poles, ladders, water extractors, or lift access. Product overviews such as this 2026 guide for commercial cleaning are useful for comparing categories, but field conditions should drive the final buying list.
Analysts at Market Report Analytics, in their report on post-construction cleaning services, point to growing demand for professional-grade equipment such as industrial vacuums, commercial floor scrubbers, and pressure washing systems. On real jobs, the lesson is simple. Cheap tools slow the crew down, leave dust behind, and increase the odds of damage claims.
Windows need their own supplies. That is where DIY kits usually fall short.
Post-construction glass can carry stickers, paint specks, silicone smears, stucco residue, and grit packed into tracks and frames. Standard household glass cleaner and paper towels do not solve that. They often smear residue and hide debris that later gets dragged across the surface. Safe window cleanup usually calls for dedicated scrubbers, clean rubber, glass-only towels, careful frame detailing, and a method for checking whether debris is loose, bonded, or trapped on the glass.
Use stronger chemicals carefully
Residue removal is where expensive mistakes happen. Fresh paint, coated metal, laminate, prefinished wood, and modern glass all react differently. A stronger product is not a better product if it softens a finish, dulls a coating, or drives residue deeper into a surface.
A practical post-construction cleaning guide makes the same point cleaners learn on site. Start with dry removal, test in a small area, and move to the least aggressive cleaner that will do the job. That sequence protects trim, cabinetry, flooring, and glass.
Match the tool and the chemical to the surface, not to the mess alone.
If you want a room-by-room supply and task list before buying materials, Pine Country has a useful post-construction cleaning checklist.
Safety Gear Is Not Optional
Before you open a bucket or extend a pole, protect the person doing the work. Construction dust isn't harmless, and post-construction sites still contain sharp debris, chemical residues, and unstable footing.
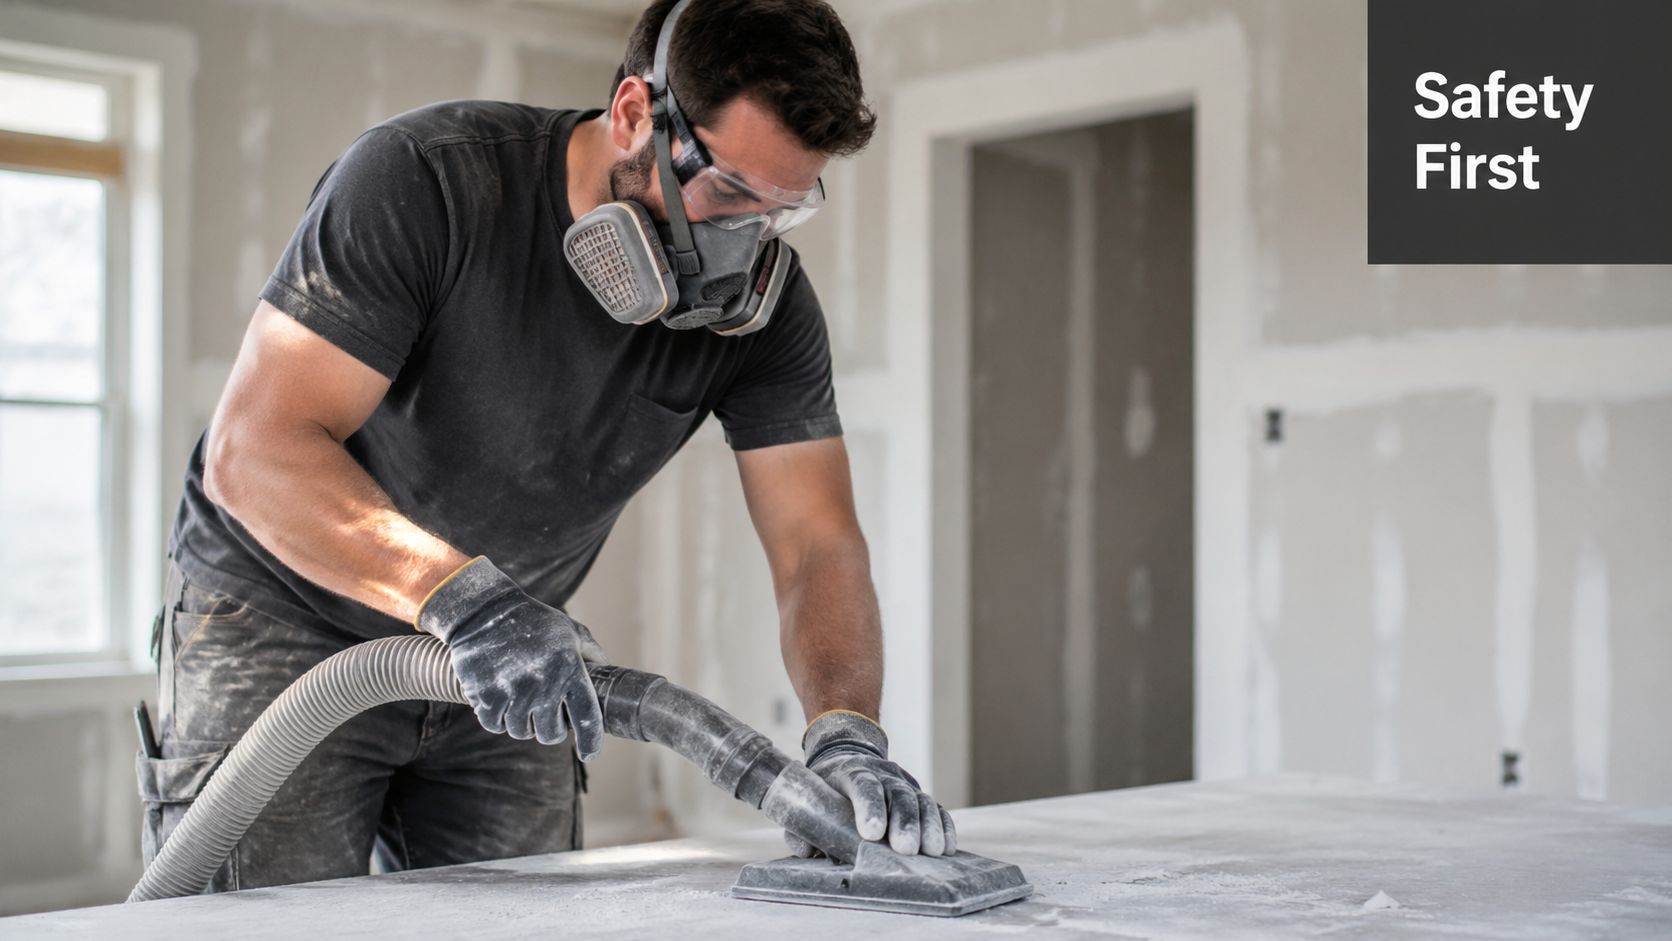
A proper PPE setup should include a respirator mask, sealed eye protection, gloves suited to both debris and cleaning chemicals, and footwear with reliable traction. That's the baseline. If the site still has active punch-list work, ladders, exposed fasteners, or high dust load, the bar goes up.
What matters most on a dusty site
A loose paper mask won't cut it if you're vacuuming drywall dust for hours. You need respiratory protection that fits properly and stays on while you move, bend, and work overhead.
Eye protection matters just as much. Regular glasses don't seal out airborne dust or cleaner splash. A good pair of safety goggles protects you while you vacuum ceilings, brush out tracks, or work below someone else on the crew.
Gloves should match the task:
- Cut-resistant work gloves for debris handling
- Chemical-resistant gloves for cleaners and spot treatment
- Grip-focused gloves when using poles, ladders, or wet equipment
Jobsite reminder: Safety gear protects the technician, but it also protects the property. Tired, irritated, distracted workers make careless mistakes.
Equipment checks matter
There's another safety issue that gets ignored after construction. Dust doesn't only land on surfaces. It coats the tools used to clean them.
According to industry safety standards for post-construction sites, all window cleaning equipment, including ladders and poles, should be inspected daily for debris contamination because construction dust can reduce the grip coefficient of ladder feet by up to 40%, increasing fall risk for technicians working at height, according to this Flagstaff business profile discussing window cleaning safety conditions.
That's one reason professionals slow down before they start. Dirty ladder feet, dusty pole grips, and cluttered work paths cause preventable accidents.
A quick visual on safe dust removal practices helps here:
Respect the home while you clean it
Good crews don't stomp through a finished space just because it's dusty. They protect corners, watch thresholds, and keep contaminated tools off finished counters and furniture.
That mindset matters in Flagstaff homes, cabins, medical buildings, retail spaces, and high-end custom builds. The cleanup phase should reduce risk, not create a fresh list of repairs.
Your Cleanup Strategy From Rough to Final Clean
The order of operations decides whether you remove dust once or chase it all day. The rule is simple. Work top down, and go dry before wet.
If you start mopping before you've cleaned overhead surfaces, you'll end up with muddy residue on floors and more dust drifting onto areas you already touched. Professionals break the job into phases so each pass does a specific kind of work.
Rough clean
The rough clean is for obvious debris, packaging, scraps, and heavy dust. This isn't the stage for detailing. It's for creating a safe, workable environment.
Start with:
- Walk the site first: Look for uncured finishes, loose hardware, and surfaces that need a gentler approach.
- Remove large debris: Get cardboard, plastic, labels, wood scraps, and trash out before fine cleaning begins.
- Dry capture overhead dust: Vacuum or dust ceilings, vents, upper trim, light fixtures, and shelving.
- Address window tracks and frames: Loose debris in these areas spreads everywhere once water enters the picture.
Deep clean
The deep clean handles the settled film left on everything. In this particular step, discipline matters most.
Use a HEPA vacuum on horizontal surfaces, trim, cabinet interiors, ledges, and flooring edges. Then move into damp wiping and washing with the right cloths and cleaners for each finish. Keep your rinse water fresh. If the water looks cloudy, it's already too dirty.
A few areas get missed constantly:
- Inside cabinets and drawers
- Baseboard tops and door casing
- Vent covers and returns
- Switch plates and outlet faces
- Closet shelves
- Window tracks and sill corners
Cleaners lose time when they keep recleaning the center of the room and ignore the edges where dust actually collects.
Final clean
Final clean is not just a quicker version of deep clean. It's a detail pass after the space has settled and the remaining defects are easier to see.
Use this stage to remove residue from fixtures, polish glass-safe surfaces, wipe fingerprints, and confirm the property feels finished rather than merely empty. Floors get their best pass here, not during the rough phase.
A strong final clean checklist includes:
| Area | What to check | Why it matters |
|---|---|---|
| Entry points | Thresholds, handles, glass, trim | First impressions show leftover dust fast |
| Kitchen | Cabinet faces, inside drawers, backsplash, appliance fronts | Fine dust hides in seams and reveals itself in sunlight |
| Baths | Fixtures, mirrors, tile edges, fan covers | White dust settles around hardware and caulk lines |
| Windows | Tracks, frames, corners, glass residue | This is where damage and callbacks happen |
| HVAC touchpoints | Registers, returns, nearby trim | Air movement can restart dust spread if these are missed |
Window tracks need their own attention
One detail that gets skipped too often is drainage. A frequent operational pitfall is neglecting to clean window weep holes, the small drainage holes at the bottom of tracks, which causes 15 to 30% of post-construction water damage cases due to blocked drainage pathways, according to Dunnington Cleaning's post-construction window cleaning notes.
That's not a cosmetic issue. If tracks stay packed with dust, sticker backing, and mortar crumbs, water has nowhere to go. It backs up into the assembly and creates a problem long after the cleaners leave.
Why Post-Construction Window Cleaning Is Different
Windows are where DIY confidence usually breaks down. People assume glass is just another smooth surface. It isn't, especially after construction.
Fresh construction glass often carries dust, paint overspray, silicone residue, labels, sticker adhesive, and mineral contamination. If you attack that with a rag and off-the-shelf spray cleaner, you grind debris into the surface. That's why professional window cleaners don't use rags, Windex, or newspaper. We use squeegees, ladders, poles, and pure-water brushes because the method has to match the contamination.

Blade work only happens after lubrication
The glass has to be prepared before any scraping starts. The post-construction window cleaning methodology uses a 7-step protocol, and Step 2 requires fully soaking the glass with a soap solution before any blade contact because dry scraping drives grit into the surface, as explained in this post-construction window cleaning protocol.
That single habit prevents a lot of damage. Soap gives the grit suspension and lubrication. It lets the blade glide instead of chatter across dry contamination.
From there, technique matters:
- Use a fresh blade
- Keep the glass wet
- Scrape in one direction
- Use light pressure
- Stop immediately if the surface doesn't respond normally
Windows need a separate toolkit
A proper post-construction glass setup includes a professional squeegee, a safe scrubber, fresh razor blades where appropriate, non-abrasive solvents for adhesive residue, detailing towels reserved only for glass, and pure water for final work when the project calls for it.
There's also a customer-care side to this that gets overlooked. Good window cleaning isn't just about the pane. It includes the screens, tracks, frames, and the condition of the home while the work is happening. We remove screens, clean screens, and reinstall them with every service because a finished window job doesn't stop at the glass.
The same goes for property care. Cleaners should protect sills, avoid dragging hoses and ladders across finishes, and pay attention to landscaping, furnishings, and interior flooring. On custom homes and occupied properties, that professionalism matters as much as the final shine.
Flagstaff conditions make technique matter more
In Flagstaff, dust is persistent, and mountain light is unforgiving. Imperfections that seem minor in shade become obvious when afternoon sun hits the glass. That's one reason post-construction window cleaning should be treated as a trade skill, not an afterthought.
This local market also values trust. Flagstaff's largest window cleaning company was started by Flagstaff native David Kaminski and has been in business since 1999. That kind of longevity comes from doing careful work, using the right tools, and treating people's homes with respect.
On post-construction glass, the first goal isn't speed. It's avoiding the scratch you can't take back.
Knowing When to Call a Flagstaff Professional
A lot of owners start with good intentions. Then the remodel wraps, the fine dust is still hanging in the light, the glass shows paint specks and silicone, and move-in is three days away. That is usually the point where a do-it-yourself cleanup stops being a money saver and starts risking scratches, callbacks, and delays.
Small jobs can still be reasonable to handle in-house. A single-room update with limited dust, low-access glass, and durable finishes is a different situation than a custom home, a tenant turnover, or a commercial space with multiple trades working right up to the deadline.
The ultimate decision is not just size. It is risk.
DIY can make sense if:
- The work is limited to one small area
- You have time to clean in stages instead of rushing the finish
- You already own proper dust-control tools, not just household cleaners
- There is little chance of damaging glass, finished wood, stone, or specialty flooring
Professional help usually makes more sense if:
- The project covers multiple rooms or levels
- Dust has settled into vents, tracks, lighting, and trim
- The windows have paint, mortar, stickers, hard-water residue, or silicone
- The property has high glass, awkward access, or ladder work
- You are on a move-in, turnover, or final-inspection deadline
Windows are often the deciding factor in Flagstaff. General post-construction cleanup crews can do solid work on dust, debris, and surface wiping, but contaminated glass is a separate skill set. If the panes have fabrication debris, overspray, cured adhesive, or mineral staining, the wrong pad or scraper can leave permanent damage. I would rather tell a client to stop and call for help than watch them turn a cleanable window into a replacement claim.
That is also why labor drives the job. Good crews spend their time on sequencing, detail work, access, and damage prevention. Supplies matter, but the expensive part is experience. The crew knows what to touch first, what to leave alone, and where one wrong move can cost far more than the cleaning itself.
For cleaning companies and property service teams trying to run jobs more efficiently, tools like AI for cleaning services can help with scheduling, communication, and follow-up. On the field side, though, no software replaces trained hands on post-construction glass.
If you need a benchmark for what a specialist should handle, review these post-construction cleaning services in Northern Arizona. The scope should go beyond basic wipe-down work and account for access, glass condition, screen handling, and protection of finished surfaces.
If the project includes expensive windows, high visibility sunlight, or a client who will notice every flaw, hire the specialist first. That call is cheaper than scratched glass.