
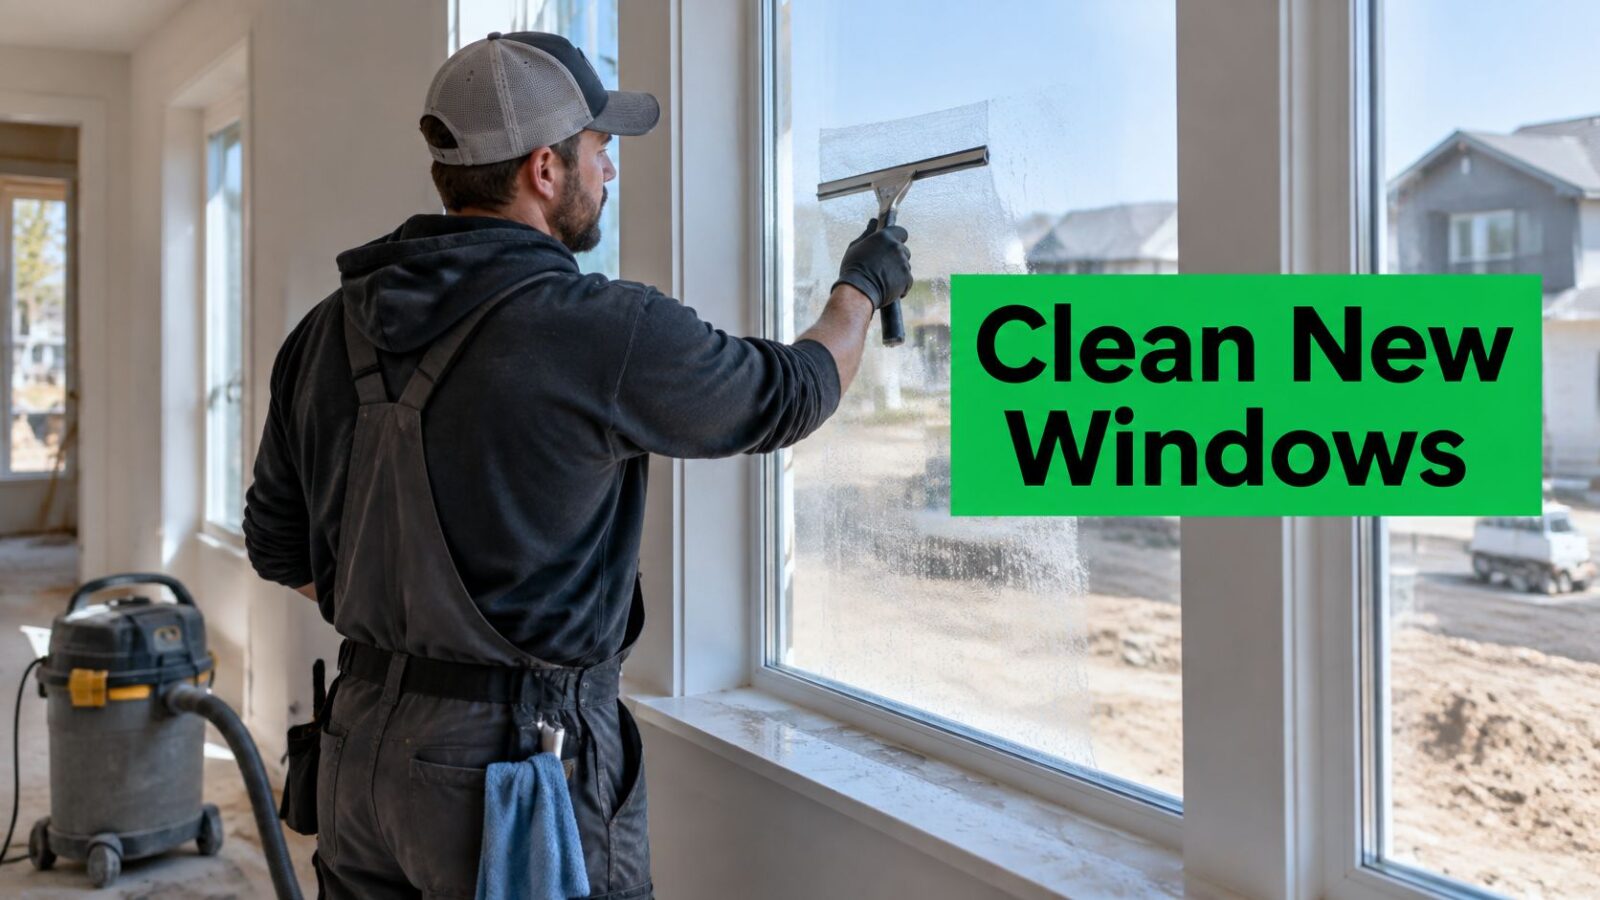
The punch list is nearly done. Trim is painted, the tile saw is gone, and the house finally sounds empty. Then late-afternoon sun crosses the great room and every pane looks like it was washed with milk.
That film isn't ordinary household dirt, and the habits that keep a lived-in kitchen window clear won't touch it. Construction glass carries something far more abrasive: dust from concrete, mortar, drywall, stone, and tile, plus overspray, adhesive, and factory residue. Learning how to clean new construction windows starts with one hard truth: the first tool isn't a blade, it's a vacuum and a hose.
Here's the working order that protects the glass, the frames, and the drainage the window depends on, plus the marks you should stop touching and hand to someone with better equipment.
Why Construction Dust Ruins a New Pane
Take a new build on the west side of town, locked up for a week after the drywall sanding and texture coat. From the driveway the glass reads cloudy. Sills and tracks hold a fine white powder, the frames feel chalky, and the obvious first move feels like a razor blade and a spray bottle.
That powder is the problem. Construction residue commonly includes concrete, mortar, drywall, stone, tile, and other materials that can generate respirable crystalline silica, and OSHA's construction operations guidance warns that inhaled silica particles can lodge deep in the lungs and cause silicosis and other respiratory illnesses. Dust control is the first task on the job, not a warm-up for the glass.
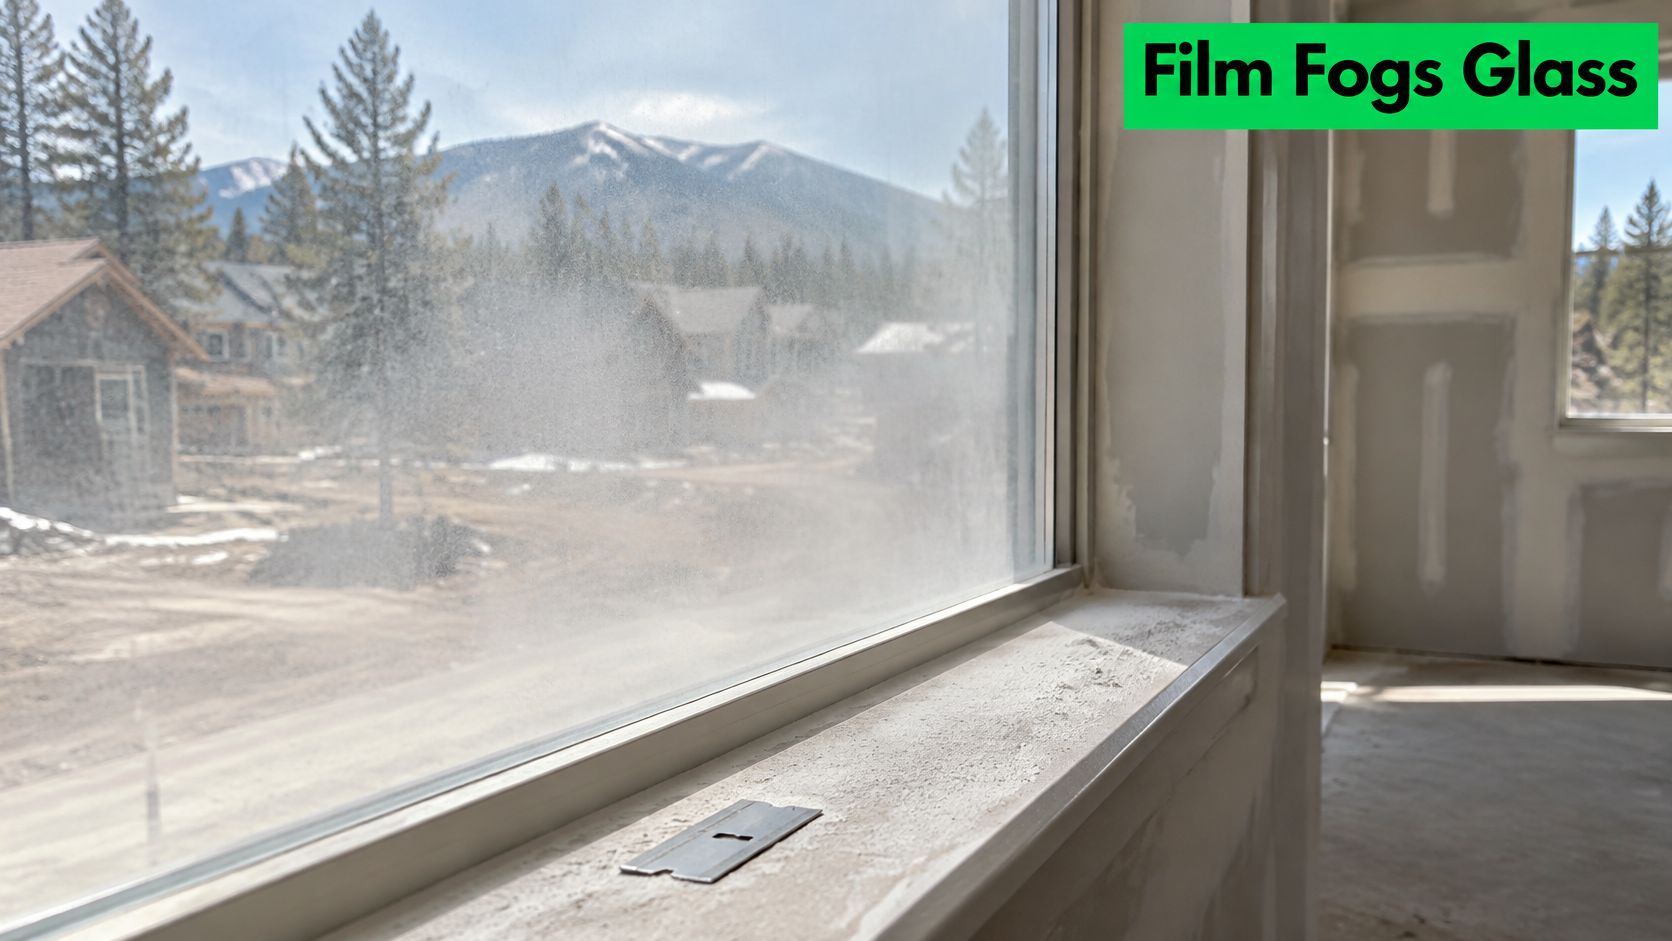
The same guidance is unusually practical about method. It identifies vacuuming as the most reliable way to clean dusty surfaces and specifies that vacuums used on hazardous dust should carry high-efficiency particulate air (HEPA) filters.
The Order of the Job
Dry sweeping and compressed air undo everything. That same chapter recommends HEPA vacuuming or wetting dust before sweeping, and it prohibits compressed air on contaminated surfaces unless ventilation captures the resulting dust. It also notes that homes and buildings constructed before 1982 may contain asbestos-containing materials. On a renovation of an older structure, that changes the whole visit: containment, respiratory and eye protection, and confirmation that nearby cutting, sanding, and demolition have stopped before anyone touches the final glass.
Order of work: stop the cutting, remove the loose dust, wash the window system and its drainage paths, then inspect under angled light.
A razor sits at the very end of that line, or doesn't come out of the pouch at all. Every particle resting on the pane becomes an abrasive the moment a blade drags it across the surface, and on a job site there are thousands of those particles per square foot. The containment side of the job, the part that happens before a squeegee is wet, is covered in this guide to construction dust cleaning.
A household window routine is the wrong model here. A home wash removes fingerprints and pollen from glass that is already clean underneath. A post-construction wash removes material that can scratch, etch, and permanently mark the pane, and it does that work in a building where the air is still full of the same material.
Match Each Construction Mark to a Safe Response
A cloudy mark on new glass may be dust, residue, etching, or a scratch. The safe response depends on which one it is. Match the mark before choosing a tool.
| Mark | Risk to glass | First safe response | Stop when |
|---|---|---|---|
| Concrete or drywall dust | Grit scratches if dragged dry | HEPA vacuum or damp wipe, then a wet squeegee wash | Haze returns after dry sweeping or blowing |
| Mortar, stucco, or cement film | Can etch or bond to the pane | Flood with water, mild soap, soft brush, then squeegee | A frosted etch remains after a full rinse |
| Paint overspray | Hides grit and bonds as it cures | Soak, soft agitation, and a squeegee, with no default razor | A coating turns hazy or a new scratch appears |
| Tape, labels, and stickers | Adhesive smears when rubbed dry | Warm-water soak, then squeegee, following the film label | Adhesive spreads or the film tears |
| Factory protective film | Glue can remain if the film is peeled incorrectly | Remove only as the manufacturer instructs, then wash | Film shreds and residue stays |
| Mineral or hard-water spots | Not construction dirt | Use a separate mineral treatment, not this wash | Spots are unchanged after soap and water |
| True scratch or chip | Cleaning cannot remove it | Photograph in daylight and document it | The line does not move or lighten |
What the Risk Column Is Telling You
Dust and grit cause mechanical damage when a tool drags them across the pane. Mortar and cement can chemically etch glass, leaving a frosted mark that scrubbing will not reverse. Paint and adhesive bond to the surface, so use soaking and gentle agitation rather than added force.
Factory glass can carry particles, too. The National Glass Association's guidance on heat-treated glass surfaces explains that tiny particles from glass cutting, edging, washing, tempering, and airborne plant debris may adhere to the surface. Dislodging those particles and dragging them across the pane can scratch or chip the glass. A sharp blade is not automatically a safe first step, even on glass that looks new.
Pay attention to what remains after washing. A frosted patch may be etching; a line that catches a fingernail may be a scratch. Photograph and document existing damage before attempting specialized removal. It is a simple precaution that can settle disputes with a builder or seller.
Stop when the mark suggests damage rather than residue. More pressure or a stronger chemical will not restore etched or scratched glass.
Wash New Construction Glass From Dust to Squeegee
Clean one window before you commit to a house. Choose a shaded pane on the elevation carrying the worst residue, work it end to end, and inspect it from three angles before the rest of the project gets the same treatment. A test pane tells you whether the glass is sound, whether the residue is removable, and whether your method is safe on that particular glazing.
The sequence below holds up on a dusty site.
Water volume is the variable most often mishandled. The National Glass Association's procedures for cleaning architectural glass warns that abrasive particles become trapped between tools and glass when insufficient water is used, and it recommends against routine razor-blade or metal-scraper contact. Residue should come off promptly, because cement, paint, stucco, adhesives, labels, and tapes bond to the surface and make later removal more hazardous.
The whole job reduces to four moves.
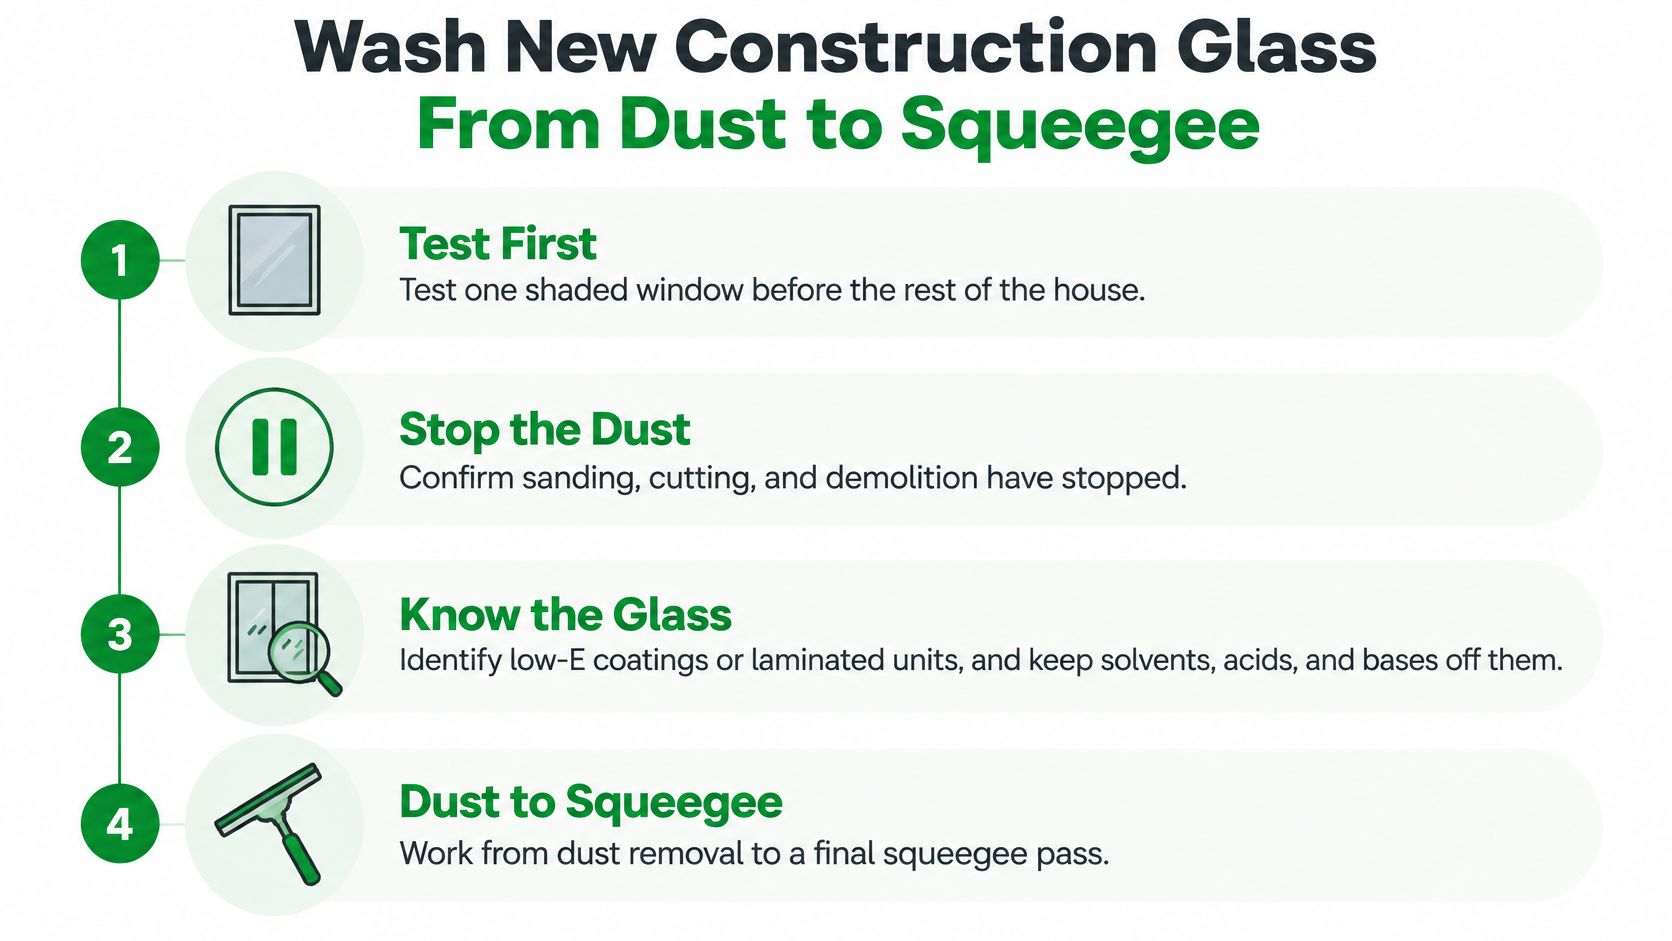
- Confirm the work above you has stopped. No sanding, cutting, or demolition while the glass is wet. Anything running overhead reloads the pane before the squeegee finishes.
- Identify the glass before you choose chemistry. Note low-E coatings or laminated units. Laminated glass also requires keeping solvents, acids, and bases off it.
- Remove the loose material with a HEPA vacuum or a damp wipe. Work the edges, frames, sills, and tracks. No dry sweeping, no compressed air.
- Take the screens off and set them aside. Washing around a screen means dripping grit back onto glass you just cleaned.
- Flood the pane with plenty of clean water. Volume is what lifts grit off the surface instead of holding it against the glass.
- Soak with a mild, non-abrasive soap solution. Mix it weak. Stronger is not faster where coated glass is concerned.
- Agitate lightly with a soft strip washer or a soft brush. Light passes over the surface. Abrasive pads and scrubbing do the damage you're trying to prevent.
- Pull the solution off at once with a clean rubber squeegee. Work upper floors first, top to bottom, and overlap each pass.
- Replace your water before it looks bad. Gritty water recycles particles across every pane it touches.
- Flush sills, thresholds, and weep paths. Debris packed into a drainage path shows up later as water sitting where it shouldn't.
- Wipe the frames and interior sills, clean the screens separately, and reinstall each screen in its original opening. Bent frames and worn tabs go back on the list for the builder.
- Inspect under angled light. Repeat the elevation only after the test pane shows no new scratches.
Never Use These on New Glass
Muriatic or hydrochloric acid, hydrofluoric acid, abrasive powders, and corrosive chemicals don't belong near a window, and no amount of soaking makes them safe on coated or laminated units. Direct sun is the other quiet enemy. It flashes soap solution dry before it reaches the squeegee and leaves a film that looks like etching, which is why shaded glass gets cleaned first and sun-facing elevations wait for cloud cover or a different hour.
Stickers, Paint, and Marks That Will Not Lift
The most common instruction online for paint and stickers on new glass is a razor blade and something harsh. Applied to the coatings and laminates going into houses now, that advice is a decade out of date.
Manufacturer guidance is narrower than the DIY pages suggest. Guardian's cleaning instructions for coated glass allows only highly limited, one-direction scraping for small spots under specified conditions, while other manufacturer guidance recommends avoiding metal blades altogether. There is no universal razor rule, so anyone presenting one is guessing at your glass type.
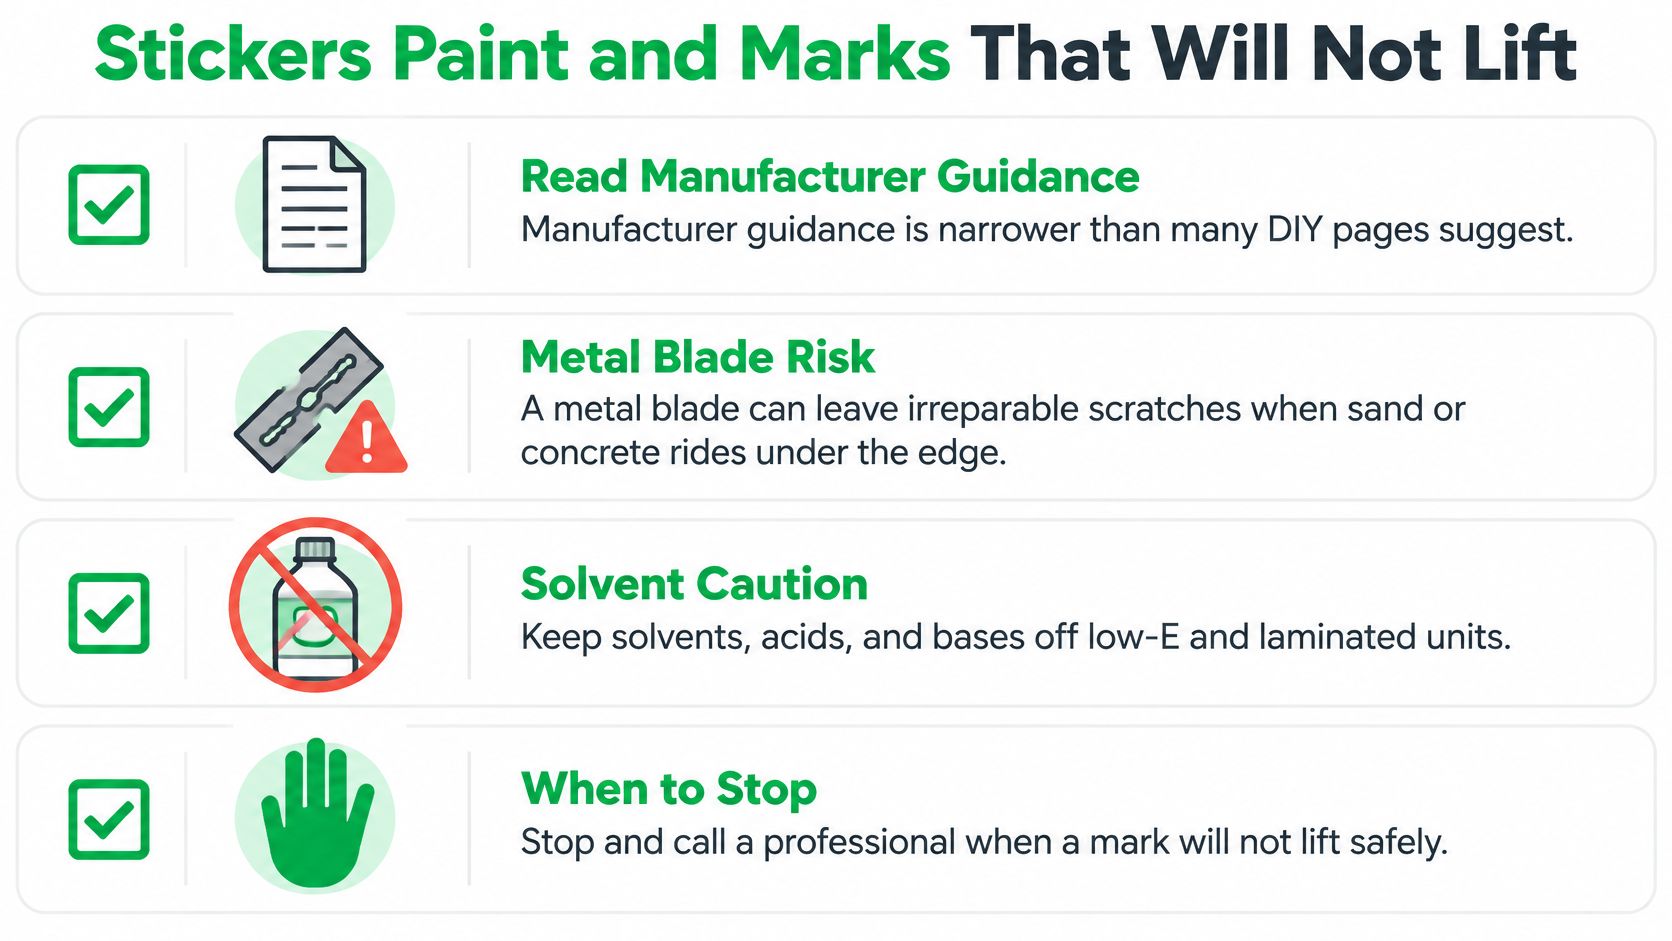
The One Spot Daylight Test
Photograph the pane in daylight first, with the mark filling the frame. Photographs settle more disputes than opinions, and they timestamp what was already there.
Then pick a spot the size of a postage stamp. Flood it with clean water and a mild, non-abrasive solution, agitate lightly with a non-abrasive applicator, and pull the liquid off with a rubber squeegee. Now look.
The diagnostic rule: if the mark lightens, it is removable residue and the wet method can continue. If it doesn't change at all, stop and reassess the surface itself.
What the test reveals depends on what's sitting there. Paint overspray sits on top of the glass and responds to soaking. Label adhesive smears when it's rubbed dry and needs warm water and time rather than pressure. Mortar etching looks frosted and stays frosted, because the glass has been attacked rather than coated. A scratch catches a fingernail or shows as a line that doesn't shift when you change the light angle. Blotchy patches in a coating after a careful wash need the fabricator or a glass professional, not a stronger bottle.
The escalation trap is real. Aggressive cleaning turns a small removable defect into a replacement pane, and the owner pays for both. When a mark looks like paint but behaves like etching, the correct move is to stop and get the glass assessed. Steps for lifting genuine overspray without harming the surface are set out in this guide to removing paint overspray from windows.
On a high-value cabin, a storefront, or a whole new development, document pre-existing damage before any specialist removal is attempted. The manufacturer's instructions for protective film come off the label, not from a general rule, and the pane gets washed after the film is gone.
Reach High Windows Without Harming the House
On a new build, a ladder can damage more than glass. Feet set on soft ground can crush fresh landscaping, and a ladder leaned into new trim can leave marks. Plan the route and protect the surfaces before raising the cleaning tools.
OSHA covers ladders under its general-industry walking-working-surfaces standard at 29 CFR 1910.23, personal protective equipment at 29 CFR 1910.132, and fall protection systems at 29 CFR 1910.140, as outlined in OSHA's fall protection standards. ANSI/IWCA I-14.1 is a separate window-cleaning industry safety standard covering access equipment.
Ladders, Poles, and the Reach Test
Set ladder feet on firm, level ground, keep three points of contact, and avoid leaning out to reach a corner. A second-story gable or atrium calls for a safer access method than stretching from a household ladder.
Reach test: If you cannot work the top corners with both feet planted and the ladder on solid, level ground, use a pole or lift rather than stretching.
An extension pole lets you work from the ground. For greater height, a water-fed pole with a soft brush delivers pure water filtered to remove contaminants and minerals. Choose a pole, lift, or trained crew when a pane sits beyond a safe stance. Lift work requires a trained operator; Pine Country Window Cleaning's window cleaners are background checked and industry safety trained. See these practical options for cleaning high windows safely.
Screens Off, Screens Back On
Handle screens carefully. Rushed removal can bend tabs or crack frames, and putting a screen back in the wrong opening can leave it fitting poorly. Pine Country Window Cleaning's residential service includes removing, cleaning, and reinstalling bug screens, along with inside and outside windows, wiping inside and outside frames, and wiping inside sills. The company's window cleaning process describes the service.
Protect the house as you work: place drop cloths indoors, move furniture before setting up a ladder, and keep ladders away from new plantings. Construction dust can settle on screens and nearby finishes, so careful handling helps prevent it from being transferred or scuffed during the wash.
Call a Flagstaff Crew for the Final Clean
A new build is ready for a professional final clean when glass sits beyond a safe working position, construction residue will not lift with a gentle wash, or the project has too many panes to handle carefully before occupancy. Silica-bearing dust can scratch glass when rubbed across the surface, so the job depends on controlling grit and checking whether a mark is residue or damage, not scraping first.
Pine Country Window Cleaning has served Flagstaff since 1999 and offers post-construction cleaning for windows and frames, with care taken to avoid scratches and damage. Its professional equipment includes pure-water systems that deliver filtered water through a soft brush for cleaning windows. The company also cleans residential and commercial properties.
Post-construction service covers windows and frames. For residential cleaning, the service includes inside and outside windows, removing, cleaning and reinstalling bug screens, wiping interior and exterior frames, and wiping interior sills. Construction residue and access needs vary by project, so a site visit helps establish the work involved before cleaning begins.
A Pine Country staff member can look at the home, building, or project. Customers can schedule online or call (928) 527-0671 for a free estimate. The company guarantees its work.
For a new build, cabin, or commercial project, contact Pine Country Window Cleaning to arrange a post-construction clean that protects the glass and frames. Call (928) 527-0671 or schedule online to request a free estimate.