
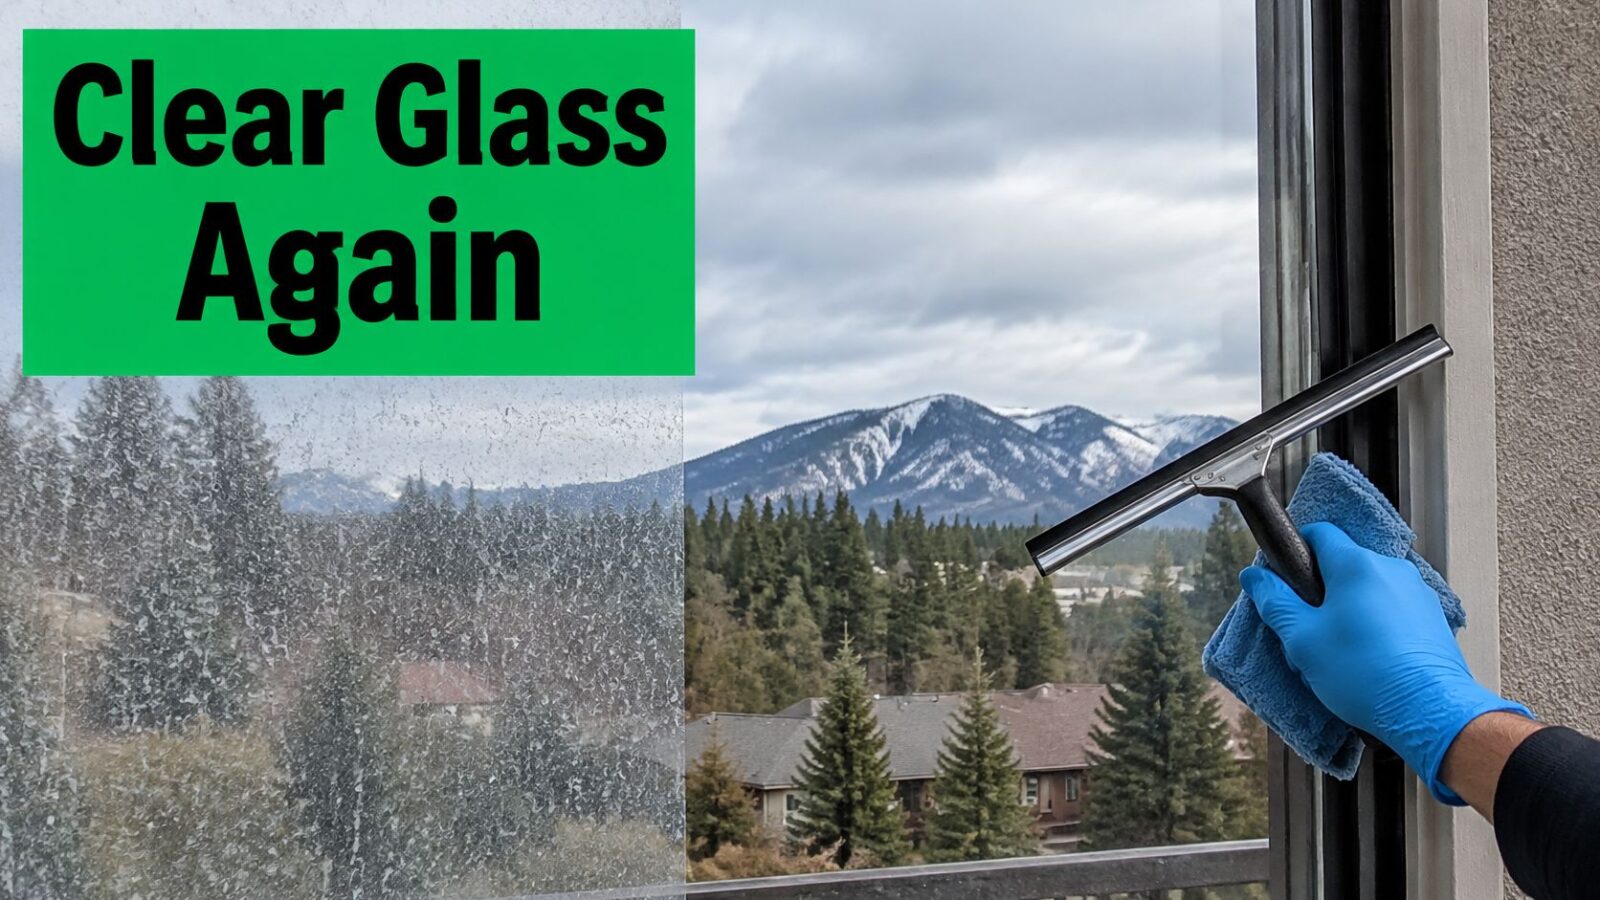
You finally get a quiet morning in Flagstaff, coffee in hand, and the light hits your living room window at exactly the wrong angle. White rings, dull haze, and a chalky crust along the bottom edge are suddenly all you can see. You rinse it, dry it, and the spots are still there.
That's the moment when good hard water stain removal for windows starts with diagnosis, not a stronger product. I would classify the stain first, test a small area, and stop the moment the glass tells you the damage is no longer on the surface.
Match the Stain Stage to the Right Fix
Stand to the side of the pane, ideally while it's in shade, and look across the glass under angled light. Then rinse one small, inconspicuous corner with purified water and squeegee it dry. What remains after that test tells you which row fits.
| Stain stage | What you see | Fix to try first | Stop point |
|---|---|---|---|
| Fresh droplet marks | Light white ring that wipes away with water | Pure-water rinse and squeegee dry | Marks return after two rinses |
| Mineral film | Dull haze that plain water will not lift | Diluted acetic or citric acid with a 15-30 minute dwell | Haze remains after a small rinsed test area |
| Crusted deposits | Thick white crust on lower panes and sills | Repeated acid dwell with a non-abrasive pad | Crust remains after two full passes |
| Etched glass | Rainbowing, pitting or rough texture under angled light | None; stop all chemicals | Get a glass-restoration assessment right away |
Read the rows from mild to permanent
A fresh droplet ring that disappears after rinsing and squeegee drying is done. Don't add acid just to feel thorough. If the ring keeps coming back, the source is still hitting the glass, and removing the mark without fixing the exposure only buys you a few days.
A dull haze that survives the rinse is a mineral film. It's still a surface problem, so the controlled acid method below is a reasonable next step. A thick, gritty crust low on the pane or along the sill usually points to repeated spray from sprinklers, a hose bib, or a fountain. Expect it to need repeated dwell passes rather than one harder scrub.
Stop point rule: If the test corner stays cloudy after proper rinsing, stronger is not smarter. You're looking at possible etching, not stubborn scale.
Rainbowing, pitting, or a rough feel under your fingertips means the glass surface itself may be changed. That's where DIY work ends, because abrasion can trade mineral spots for scratches or a wavy, distorted patch.
You can do the useful part in ten minutes. Pick one spot, test it, find its row, and decide whether continuing is safe. That single decision prevents most expensive mistakes.
Why Hard Water Leaves Marks on Glass
This close view shows the white mineral build-up that forms when mineral-rich droplets dry on glass.
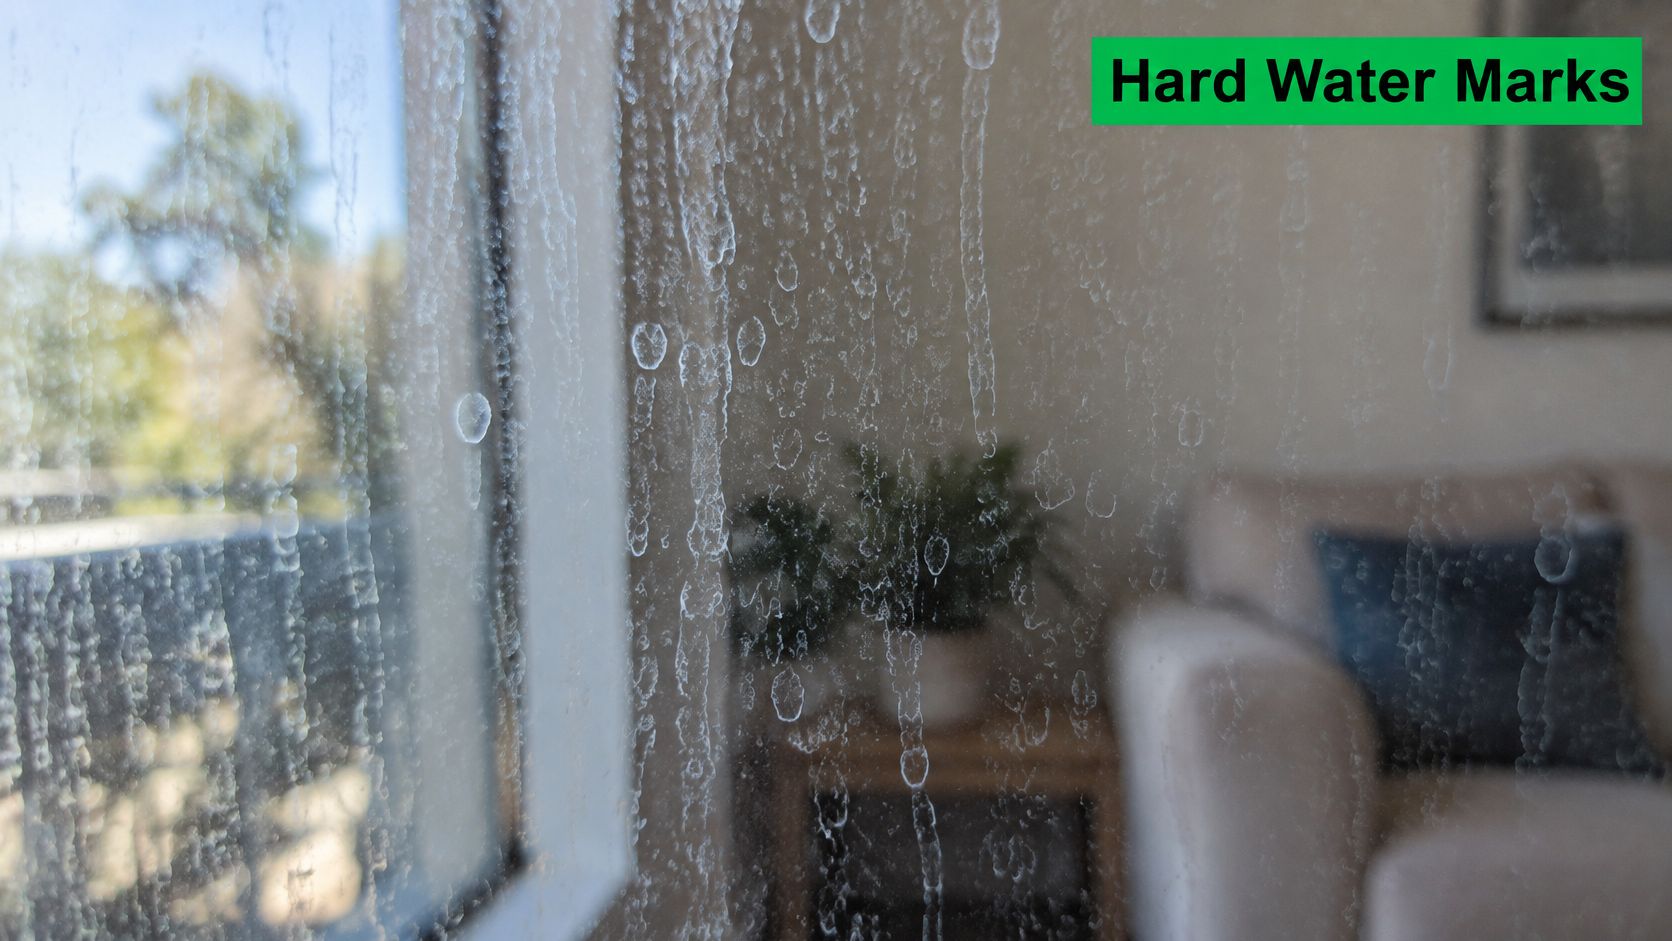
Hardness is dissolved calcium and magnesium, reported as milligrams per liter of calcium carbonate, or CaCO3. Water evaporates, the salts don't, and repeated wetting and drying layers those salts into deposits that routine washing won't lift. The U.S. Geological Survey report classifies water as soft at 0–60 mg/L CaCO₃, moderately hard at 61–120 mg/L, hard at 121–180 mg/L, and very hard above 180 mg/L.
| Category | Hardness (mg/L as CaCO3) | Window stain risk |
|---|---|---|
| Soft | 0-60 | Low; spots are rare and rinse off easily |
| Moderately hard | 61-120 | Moderate; spots form on sprinkled or often washed glass |
| Hard | 121-180 | High; crusting is likely without regular rinsing |
| Very hard | Above 180 | Very high; plan frequent rinsing and expect crust |
Look up the hardness figure in your own utility water report and place your home in the matching row. A citywide assumption can miss your well, your building's supply, or the overspray pattern that matters.
The short video below shows how mineral spotting presents on real panes before you decide on treatment.
Stain severity depends on water chemistry and drying pattern, not dirt alone. Removing droplets before evaporation slows build-up, because minerals can't be left behind by water that never dried there.
Set Up Safely Before Any Step
Start with access, not chemistry. Inspect the ladder for damage, set it on firm and level ground, and engage the locks before you climb. If you can't work comfortably without overreaching, that pane isn't a ladder job for you.
The OSHA portable ladder guidance says to maintain three-point contact while climbing, either two hands and one foot or two feet and one hand, and to face the ladder when ascending or descending. It also sets the 4-to-1 setup rule, placing the base about 1 foot out for every 4 feet of vertical height, and requires an extension ladder to extend at least 3 feet above the landing or point of support.
Rules that keep a simple job simple
- Never stand on the top three rungs: OSHA warns against standing on the top three rungs of a straight or extension ladder, cited in that same guidance above.
- Keep tools within reach: Stage your bucket and pad before climbing so you aren't twisting with a wet squeegee in one hand.
- Use a pure-water pole from the ground: For taller panes, a pole with a soft brush is safer than stretching from an unstable position.
For the chemical side, wear gloves and eye protection, work in ventilated air, and keep solutions labeled away from children and pets. Rinse splashes off skin or painted trim immediately. Protect stone, metal, grout, and sealant before acid touches the glass, because cleaning one surface shouldn't stain another.
How to Remove Surface Hard Water Spots Step by Step
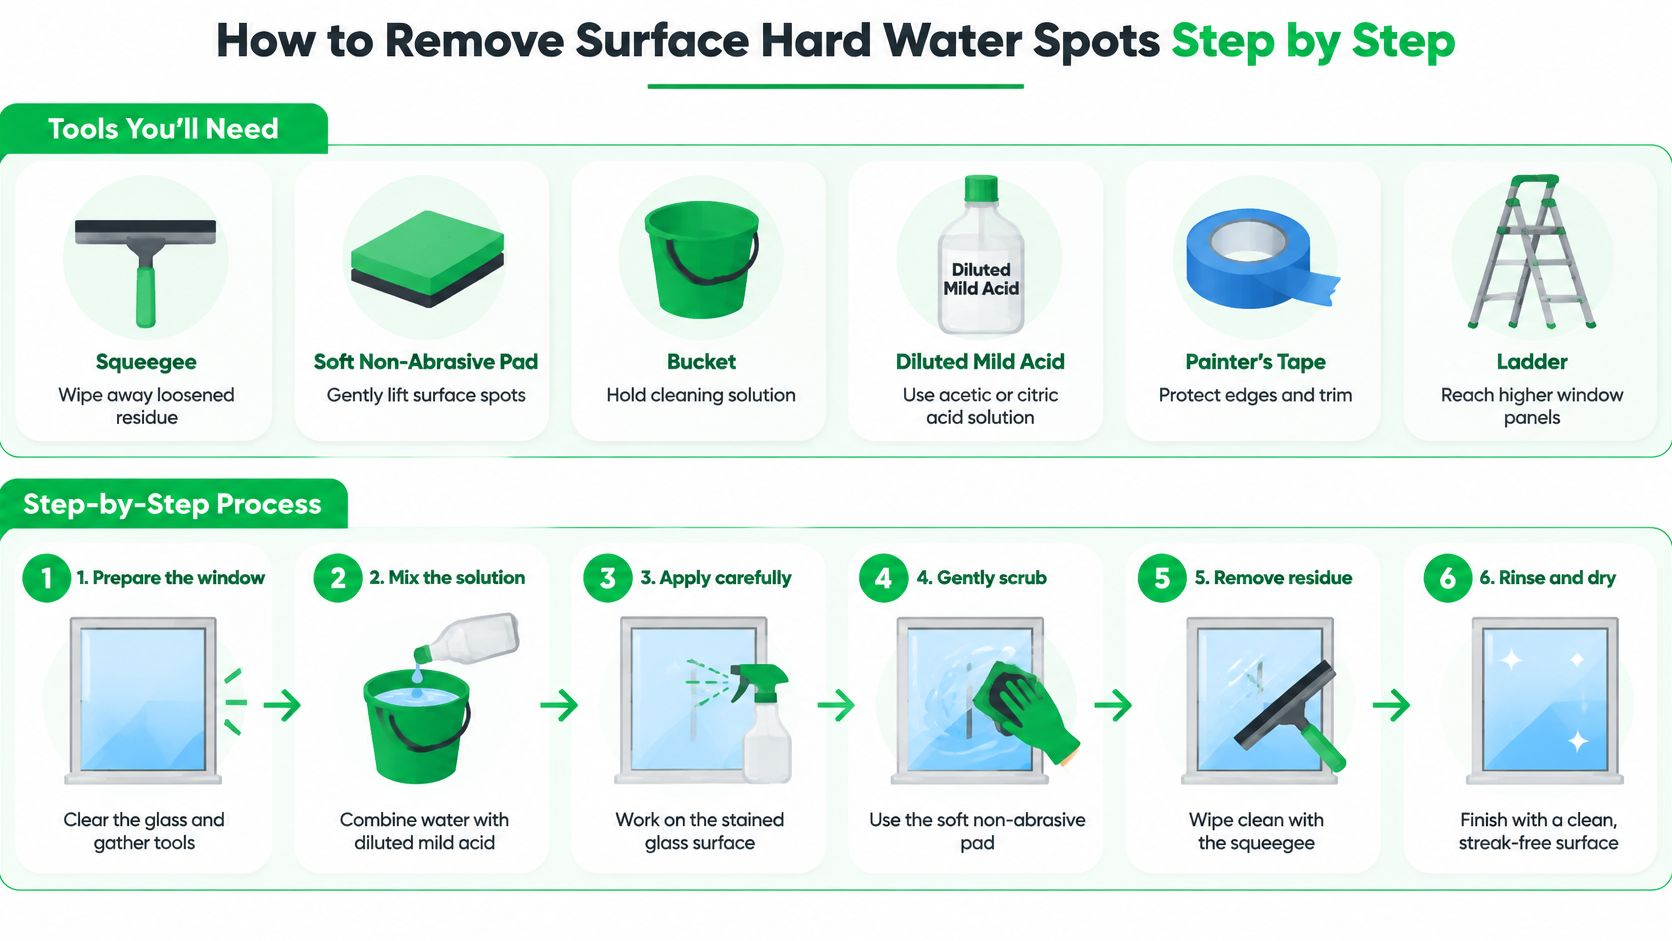
Gather your tools first so the dwell step doesn't turn into a search party.
- Squeegee: For pulling rinse water and loosened residue off cleanly
- Soft non-abrasive pad: For gentle agitation without scratching
- Bucket and diluted mild acid: Acetic or citric acid, mixed and labeled
- Painter's tape and covers: To protect trim, stone, metal, and sealant
- Rated ladder or pure-water pole: Choose based on height, with the pole preferred for upper panes
This process view lays out the tools and sequence before you wet the first pane.
The controlled acid method
The Vitro glass technical document supports a controlled workflow using diluted acetic acid or citric acid kept in contact for approximately 15–30 minutes without drying, followed by thorough rinsing and squeegee drying. Treat that timing as a benchmark, not a promise, because deposit thickness and glass condition change the result.
- Wash off loose dirt and soap film first. Acid wasted on surface grime has less contact with the mineral scale underneath. Rinse with clean water and check what you're treating.
- Protect everything next to the glass. Tape or cover stone, metal, grout, sealant, and painted trim. Acid drips travel farther than you expect on a breezy Flagstaff afternoon.
- Apply the diluted acid with a saturated soft pad. Press it onto the spot like a compress so the solution stays where the deposit is. Work one manageable section at a time.
- Hold the dwell and keep it wet. Re-wet the pad as needed for 15 to 30 minutes. If the solution dries, dissolved salts can settle right back onto the pane.
- Agitate gently with the non-abrasive pad. Use light, even pressure and let the acid do the dissolving. I would never use a blade here on a homeowner attempt.
- Rinse thoroughly, preferably with purified water. This step carries dissolved minerals away before they can redeposit. Skipping it is the most common reason a spot seems to reappear instantly.
- Squeegee in overlapping top-to-bottom strokes. Wipe the blade after each pass so you aren't dragging residue into the next stroke. Detail the edges so water doesn't pool at the frame.
- Inspect under angled light. Repeat once only if faint surface marks remain. If haze persists, stop and reclassify the pane instead of escalating.
Choosing products and sequencing matters, which is why our notes on the best professional window cleaning solution focus on matching the solution to the surface rather than reaching for the harshest bottle. For recurring visits at rental or commercial properties, the cleaning scheduling recommendations from Recepta are a useful reminder to book repeat rinses before spots harden, not after guests notice them.
Clean glass looks uniform at an angle, with no cloudy outline where droplets used to sit. If it only looks clear straight on, you're not finished, or the stain has moved beyond the surface stage.
Etching Signs and the Chemicals to Avoid
The expensive mistake isn't leaving a spot behind. It's treating etched glass as removable scale and grinding away at a surface that household acid cannot restore.
The Lehigh University glass surface treatments lecture explains that deposits can progress to damage associated with silicate reactions and “glass-on-glass” defects, at which point repeated applications may improve appearance but cannot restore the original surface. That distinction is the whole decision.
| Product or tool | Use on hard water spots? | Why |
|---|---|---|
| Diluted acetic acid | Yes, for surface mineral film | Dissolves calcium and magnesium deposits when kept wet briefly |
| Diluted citric acid | Yes, for crusted deposits on repeat passes | Mild acid that dissolves residue without strong fumes |
| Hydrofluoric acid products | Never | Permanently etches glass |
| Bleach mixed with any acid | Never | Can release toxic chlorine gas |
| Razor blades or scrapers | Never on coated or tinted glass | Scratches coatings and edges |
| Abrasive pads or powered polishing | Only with a trained technician | Causes scratching and uneven distortion |
Signs you've crossed the line
Watch for these in order. First, haze survives a small test area that was properly treated and rinsed. Next, you may see rainbowing under angled light, tiny pits, or a uniformly rough texture. Any one of those means stop escalating chemicals.
If clarity doesn't return after the residue is removed, the problem is in the glass, not on it.
Coated, tinted, laminated, or otherwise treated panes add another layer of risk. Manufacturer guidance controls there, because a tool that clears plain glass can cut through a coating in one pass. Abrasive pads and powered polishing belong with trained technicians who can manage scratching, edge damage, seal failure, and uneven optical distortion.
Before you call for an assessment, note the pane's location, whether it's coated or tinted, and take photos at an angle in natural light. Those details help a technician judge restoration options without guessing.
Prevent Mineral Marks Between Cleanings
Prevention works at one specific moment, before a droplet evaporates. Catch the water while it's still water, and the minerals leave with it instead of bonding to the pane.
- Adjust sprinkler heads: Redirect overspray away from windows and patio doors, since repeated irrigation is a steady mineral source.
- Rinse splashed glass promptly: Hose bibs, fountains, and vehicle washing all throw mineral-rich water onto nearby panes.
- Squeegee the same day: Drying glass while it's wet stops a fresh film from hardening into scale.
- Clear standing water from sills and frames: A puddle at the bottom edge dries into a ring exactly where crust starts.
- Schedule purified-water rinses on hard-water sites: Vacation rentals and storefronts exposed to frequent spray need more than an occasional seasonal visit.
These habits connect directly to our longer guidance on how to prevent hard water stains on windows, especially for second homes that sit empty between visits. They won't reverse existing crust, though. Work through removal first, then build the habits so you're not repeating the acid steps every season.
Finish with one sunny-day lap around the house, checking lower panes at an angle. Early haze is a rinse problem. Ignore it, and it becomes a restoration conversation.
When to Call a Pro and Book a Free Estimate
A pane with a light surface film may respond to careful DIY cleaning. Stop if mineral crust remains after two passes, the glass looks cloudy or etched, or reaching the pane would mean working above safe ground-level access. Stronger chemicals and harder scrubbing can scratch glass without reversing etching.
| Service | Typical cost | Source or note |
|---|---|---|
| Hard water removal per 2-by-4-foot pane | $10–$30 | Yelp, 2024 quotes from 2,589 U.S. businesses |
| Hard water add-on at a window-cleaning visit | $10–$30 | This Old House, 2026 |
| Routine window cleaning in Flagstaff | Free estimate on request | Price set after counting panes and access needs |
| Glass restoration for etched panes | Priced after assessment | Pane condition determines whether restoration is viable |
The Yelp cost guide reported in 2024, based on 2,589 U.S. business quotes, that hard-water removal typically costs $10–$30 per 2-by-4-foot pane. This Old House's window-cleaning cost guide reported in 2026 that companies commonly charge an additional $10–$30 for mineral buildup removal. Access, the number of affected panes, and the condition of the glass all affect the job. See what professional window cleaners can handle before deciding whether to keep scrubbing.
Pine Country Window Cleaning uses pure water filtered to remove contaminants and minerals, delivered to a soft brush on a pole. Hard-water removal is not included in standard window cleaning, so ask for it when booking. At a home, standard service includes inside and outside windows, removing, cleaning and reinstalling bug screens, wiping inside and outside frames, and wiping inside sills. Extra services, including hard-water removal, cost more.
Pine Country Window Cleaning has been locally owned and operated in Flagstaff since 1999. Call (928) 527-0671 for a free estimate, or schedule online. If the pane is etched or the spots persist after careful cleaning, describe what you see and ask about the appropriate service rather than applying a stronger product.