
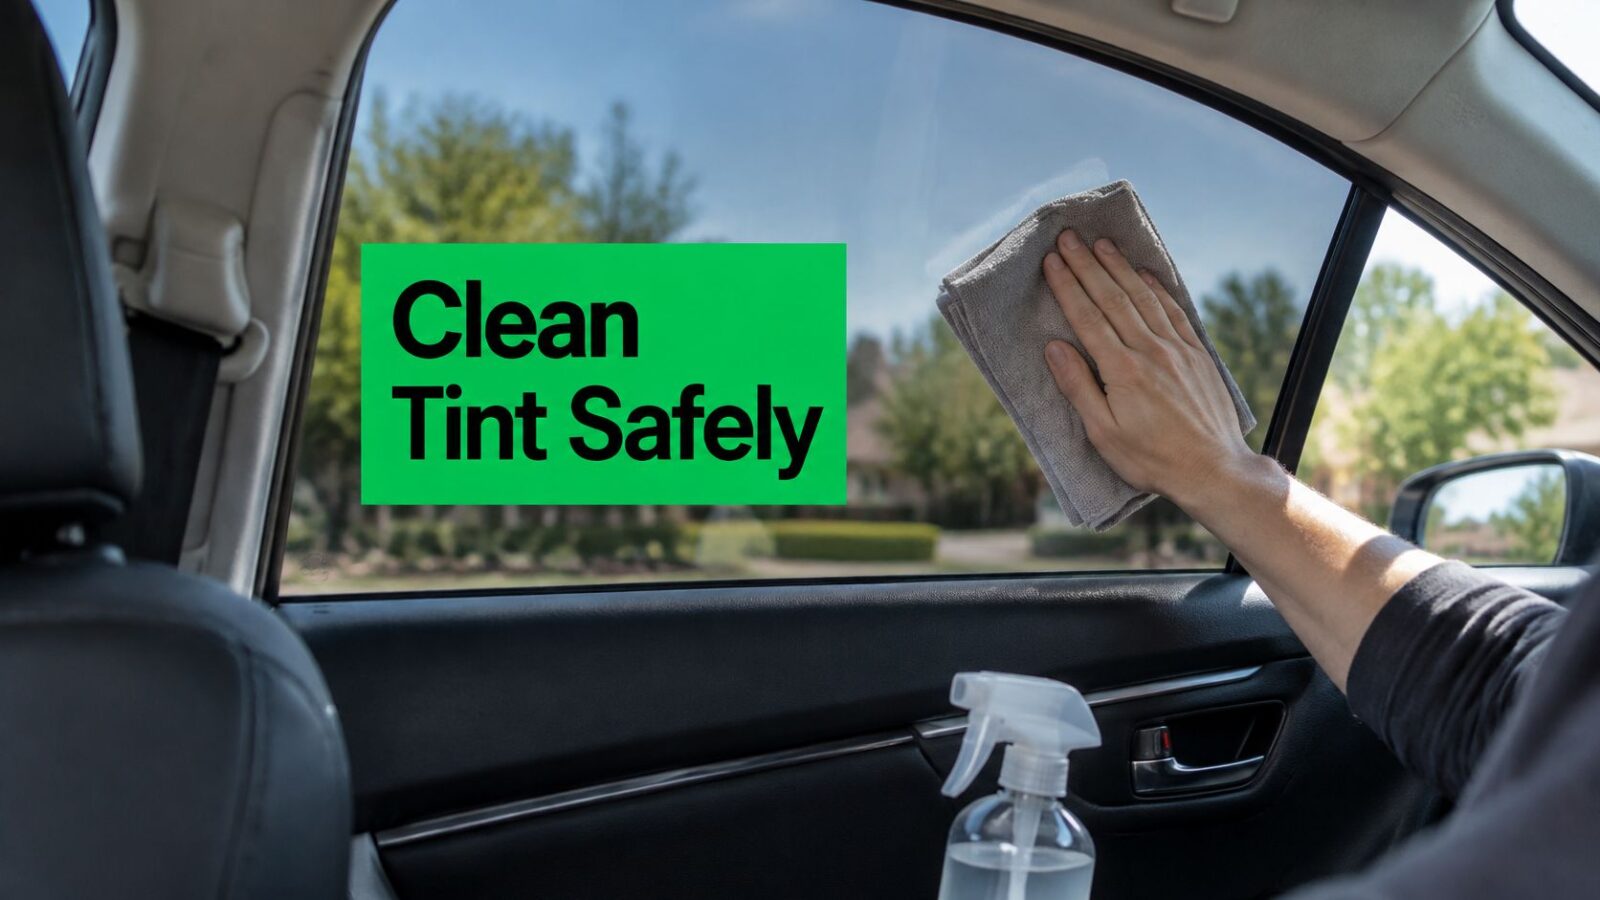
A week after the tint goes on the west-facing glass, the dust shows up in the afternoon sun and your hand is already reaching for a paper towel. That's the moment most film damage happens, and it has nothing to do with how hard you scrub. New film is still bonding to the glass, and even fully cured film is a coated surface rather than bare glass, so it answers to different tools and different timing than the rest of your windows.
The cure schedule and the film brand's own care sheet decide when the first clean happens. The tools and the cleaner follow from that, and one simple stop rule covers anything a cleaner can't fix. Get those three in the right order and tinted glass stays clear for years. Skip them and you'll be pricing a re-tint on a window that was fine last month.
How Long to Wait Before Cleaning New Tint
A week after installation, dust can obscure south-facing glass while the film is still curing. Hold off on wiping it until the film maker's care sheet says cleaning is safe. The right wait depends on the film and its curing conditions.
Installation solution can remain between the film and glass as the adhesive sets. Cleaning too soon may disturb the film or its edges, so check the installation date and follow the instructions for that specific product.
What the film makers publish
Published guidance varies. XPEL's product care guidance gives a wait of about 1 to 5 days. Madico's recommended wait and cure time vary by film, so check its care instructions for the specific product. American Window Film's 2026 care guidance advises waiting approximately 45 days before cleaning newly installed film.
| Guidance source | Suggested wait before washing | What to know |
|---|---|---|
| XPEL | About 1 to 5 days | Follow its product care sheet for the exact film |
| Madico | Check the product care sheet | Wait times depend on the film |
| American Window Film | About 45 days | 2026 care guidance for newly installed film |
| 3M | At least 48 hours without operating or cleaning, 30 days before washing | Care differs by product and cure state |
| Unknown film brand | Use the longest interval, 30 to 45 days | Document the installation date first |
Cool, shaded conditions can extend curing time. If you do not know the film brand or cannot get its care sheet, use the longer interval in the table rather than risking an early clean.
Find the installation date on the invoice or installer's sticker, then ask the installer for the care sheet that matches the film. Mark the first-clean date on your calendar.
When the brand is unknown, take the longest interval. Waiting costs little; a lifted edge may mean replacing the film.
Tools, Cleaners and Materials to Avoid
A dry cloth can scratch tinted film even when its fibers feel soft. Dust and grit trapped beneath it drag across the film, so choose tools and cleaner only after checking the film maker's care sheet.
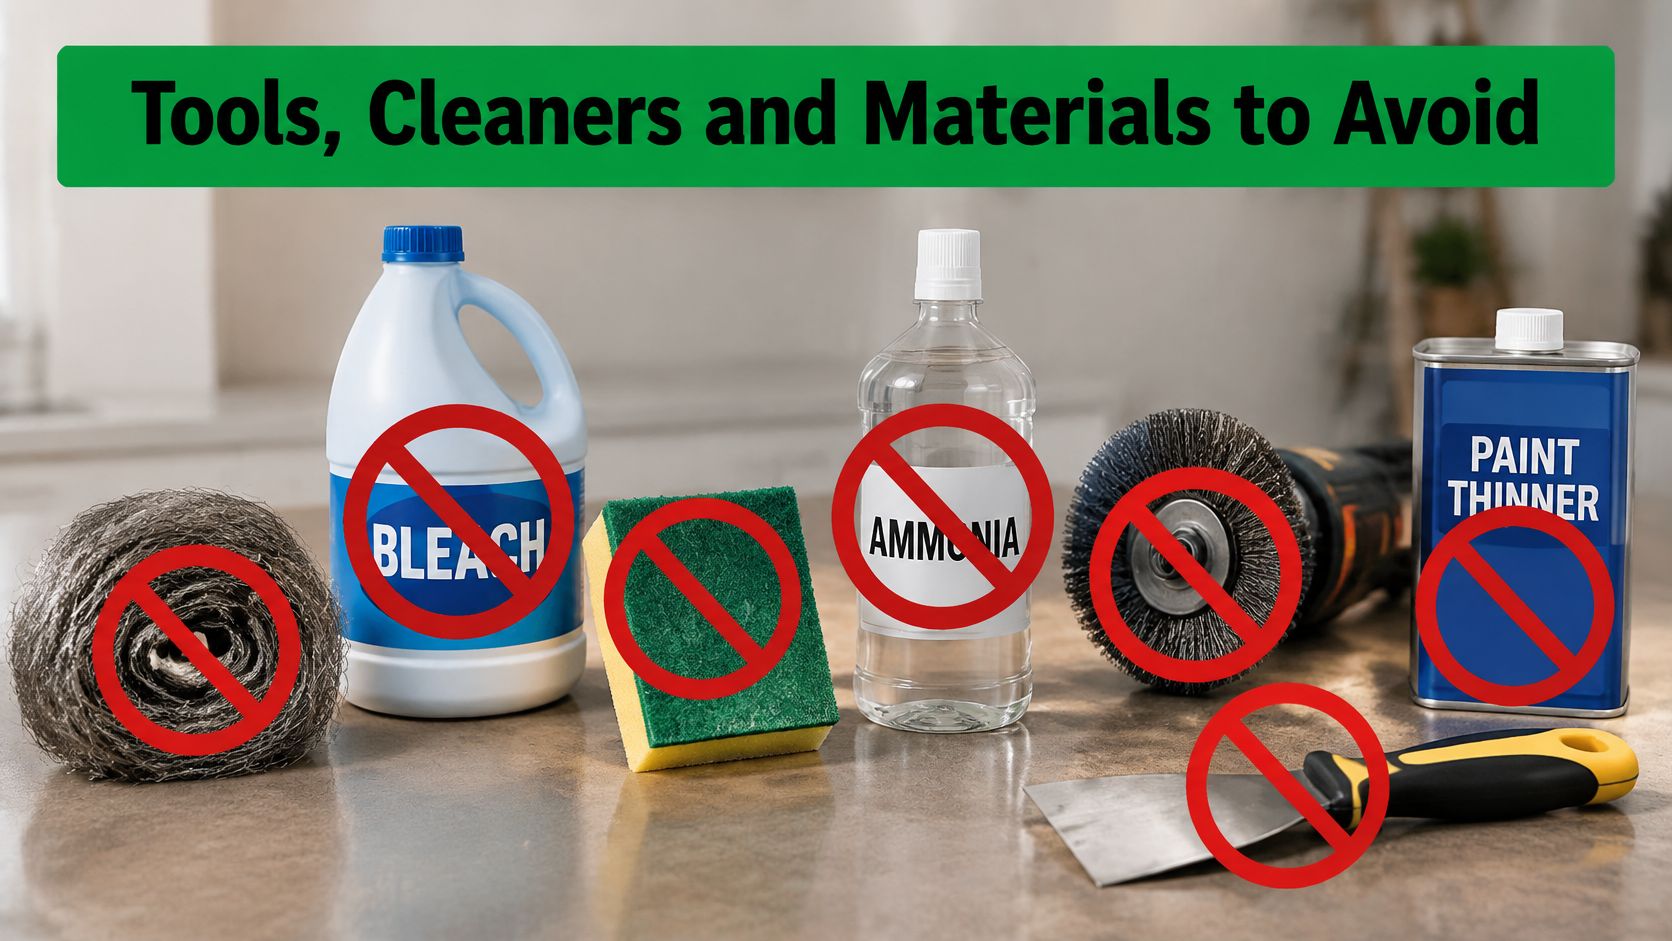
The kit, in the order a technician reaches for it
- Damp microfiber cloth. Use it to lift loose dust without rubbing dry grit over the film.
- Soft synthetic sponge. It provides light agitation for fingerprints or greasy residue.
- Soft rubber squeegee. It removes cleaning solution before it dries on the glass.
- Two buckets. Keep clean water separate from rinse water to avoid putting lifted dirt back on the pane.
- Lint-free towel reserved for edges. Dry frames, sills and gaskets with a separate towel, not the one used on the film.
Use separate cloths for the inside and outside faces. Exterior dust and road grit can transfer to a cloth and scratch the interior film.
Follow the film maker's care sheet for cleaner selection. The International Window Film Association's consumer guidance recommends mild, non-abrasive cleaners and warns against harsh chemicals and abrasive materials. If the film brand is unknown, use clean water with a small amount of mild, pH-neutral detergent.
Ammonia rules depend on the film. Some manufacturers prohibit ammonia-based cleaners; others may allow certain products. Don't assume a cleaner is safe based on a general rule: check the film's care sheet, especially before using any product that could damage the film or affect its warranty.
| Material or cleaner | Why it harms the film | Safer replacement |
|---|---|---|
| Razor blades or scrapers | Can cut or scratch the film and catch its edges | Soft rubber squeegee |
| Abrasive scrub pads or bristle brushes | Can scratch the film's hard coat | Soft synthetic sponge or microfiber cloth |
| Abrasive powders or polishing compounds | Can dull the surface and wear the film | Mild, non-abrasive cleaner |
| Ammonia-based cleaners | May conflict with the film maker's care instructions | Ammonia-free cleaner, unless the care sheet allows otherwise |
| Strong acids or alkalis | Can harm the film or adhesive | Mild detergent in clean water |
| Dry wiping | Traps dust between the cloth and film | Damp cloth |
A soft tool limits scratching; a harsh one can leave damage that cleaning will not remove.
Upper panes add a reach problem. A telescopic pole with a soft brush can help, but use it on tinted glass only if the film maker's instructions allow that method. For safe reach and tool choices, see this guide to window cleaning tools.
How to Clean Tinted Windows Step by Step
Once the cure period is behind you, the method is fixed and there's no reason to improvise. The sequence is wet, clean, pull, dry, inspect, and each step exists to keep grit suspended until it leaves the glass.
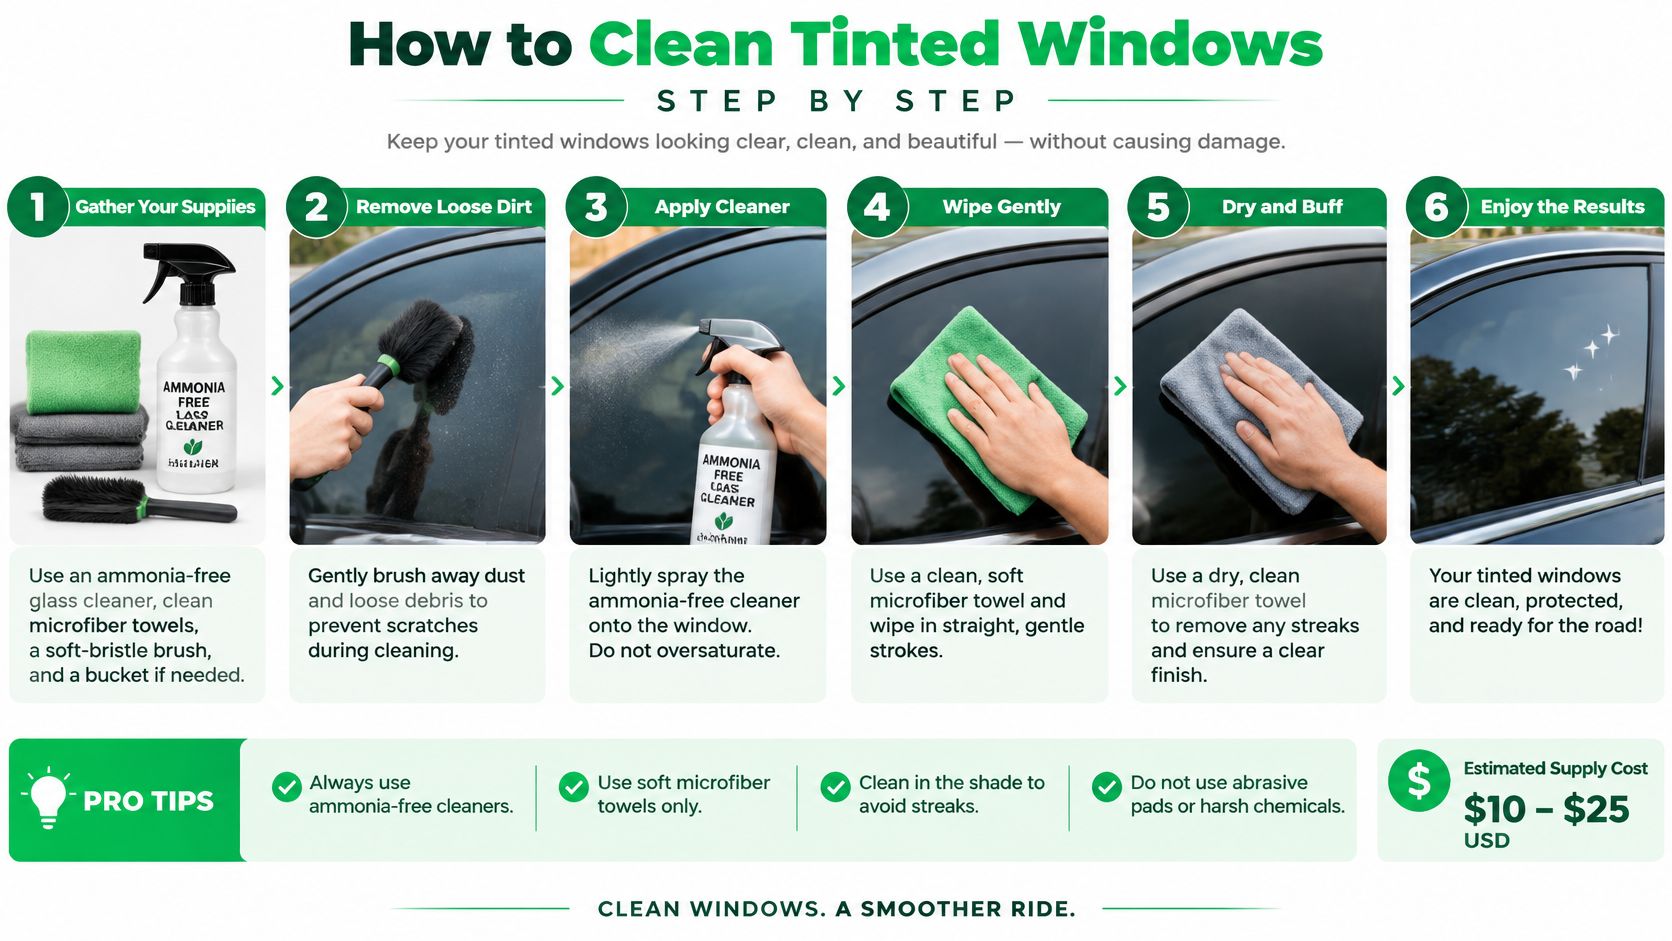
- Inspect and photograph. Look for loose edges, bubbles, scratches, failed seals and heavy mineral deposits before any water goes on. A photo taken now is the difference between a warranty claim and an argument.
- Wet the glass first. A rinse or a wet microfiber pass suspends loose grit so the cleaning cloth glides instead of dragging. Skipping this is how swirl marks appear on film nobody touched with anything abrasive.
- Mix a mild solution. Clean water plus a small amount of mild, non-abrasive detergent, or a pH-neutral, non-abrasive glass cleaner. Change it when it turns cloudy, because dirty solution is just grit in suspension.
- Wash in light, straight, overlapping passes. Microfiber or a soft synthetic sponge, minimal pressure. 3M's product care guidance is specific here: wipe along a splice rather than across it, so you're not working the seam loose.
- Pull the liquid off with a squeegee. Soft rubber, top to bottom, overlapping each stroke, and never let the last of the solution dry on the film.
- Dry the edges and frames separately. A lint-free towel dedicated to edges keeps liquid out of the seal, where it sits and softens the adhesive.
- Start fresh on each elevation. New solution and a clean squeegee on every pane, especially after a construction project or on heavily soiled glass.
The mistake that undoes good technique is letting solution dry in place. It leaves a residue that reads as haze in side light and takes a second full pass to remove. The other is misreading the risk: 3M's guidance makes clear the failure mode on film is mechanical damage rather than weak chemistry, so blades, abrasive pads, bristle brushes and dry wiping do more harm than any reasonably mild cleaner.
Clean looks like this. No streaks when you sight along the glass at an angle, no milky patch in the corners, and dry edges with no residue line along the seam.
Fixing Haze, Residue and Lifting Edges
The mark usually appears after the glass dries, when you step back and the light rakes across the pane. Sorting it takes a minute, and it saves you from the most common bad move in film care, which is answering a cosmetic problem with stronger chemistry.
Mineral spotting from hard water is the ordinary case. A rinse with clean water and a proper dry lifts it, and if a faint ring survives the second pass, it was probably there before you started. Fine swirl marks tell a different story: grit was dragged across the film, either because the glass wasn't wetted first or because the solution was reused past the point of being dirty. Neither of those is a cleaner problem.
Adhesive or construction residue is the one to leave alone. It looks sticky, it attracts dust, and every instinct says scrape it. Scraping is exactly how a small residue mark becomes a torn edge.
Sort the mark before you treat it
| Symptom | Likely cause | What to do |
|---|---|---|
| Haze or water spots after cleaning | Mineral or hard-water deposits | Rinse with clean water, dry, and re-check in side light |
| Fine swirl marks or scratches | Grit dragged across the film | Wet first, change solution, use only soft tools |
| Water pockets or hazy patches in new film | Moisture still escaping during cure | Wait; do not press or scrape |
| Sticky film on the glass | Adhesive or construction residue | Stop and contact the installer or film maker |
| Bubbling or edges lifting | Adhesion failure | Contact the installer; do not pry the edge |
Water pockets and hazy patches in the first weeks are normal and shrink as the remaining moisture escapes. Pressing on them, working them with a card, or chasing them with heat only disturbs adhesive that's trying to set, and time handles those for free. Bubbling that doesn't recede, or an edge that lifts again after you've left it alone, points to an adhesion failure, which is an installer conversation rather than a cleaning task.
Stop before you escalate. Identify whether the mark is mineral scale, adhesive residue or film degradation before anything mechanical goes near it, and hand uncertain deposits to the installer or the film maker.
Not every fog lives on the surface. If the haze sits between the panes rather than on the film, the tint isn't the problem at all, and diagnosing window seal failure is the right starting point before anyone touches the glass.
Keep a record either way. Photograph the defect before and after cleaning, note the film type, installation date and cleaner used, and a warranty conversation gets a lot shorter if it ever happens.
Cleaning Tinted Car Windows
A car's lower window edge sits close to a felt seal, where dirt and moisture collect. Wait until the film has cured before cleaning or rolling the window down. Use the interval on the film manufacturer's care sheet; cleaning too early can shift an edge that is still bonding.
The parts of a car window that get missed
- The lower edge. After the cure period, lower the window slightly and clean the exposed strip. Raise it, then dry the seal so water does not pool there.
- The gaskets and frames. Rinse with clean water and dry with a separate towel rather than scrubbing.
- The interior face. Use a dedicated cloth. Hands, vents and dashboard film can leave an oily layer that an exterior cloth may spread across the glass.
- The film edge. Wipe parallel to the edge, not into it. Keep flat blades away from the bottom of a roll-down window, where a scraper can catch the film.
For cured film, use a non-ammonia cleaner or plain soapy water with a soft cloth and light passes. Rinse, wipe with soapy water, then dry with a squeegee or towel and finish around the edges. Check the glass in side light. If an edge is lifting, stop cleaning that spot; pressing it down can trap dirt and adhesive and make the lift harder to repair.
Know When to Call a Professional

A high window can turn a simple cleaning job into a fall risk. If you cannot reach the entire pane from the ground, keep both feet planted and call a professional rather than leaning from a ladder. The same applies to wide panes, unstable ground, or glass covered in post-construction dust.
Setup rules that matter more than ladder brand
For work that does involve a ladder, OSHA's portable ladder guidance calls for three points of contact while climbing or descending, facing the ladder, and keeping your body near the middle of the steps. An extension ladder used to reach an upper surface should extend at least 3 feet above the landing.
OSHA's ladder safety training material describes the 4-to-1 setup: place the base 1 foot away from the structure for every 4 feet of ladder height. Never move a ladder with someone on it. Keep your center of gravity between the side rails, and take a defective ladder out of service, as described in OSHA's fall hazard instructor manual. Sloped or gravel ground makes a secure setup harder, so stop if the ladder cannot sit firmly.
Height and access determine when to hand off the job. Tall windows, oversized panes, post-construction dust, and work at hotels, dealerships, medical buildings, or campus facilities may call for professional equipment and trained staff. For tinted glass, also stop if the film is lifting or the haze or residue does not come away with gentle cleaning. A cleaner cannot repair damaged film; contact the installer.
Pine Country Window Cleaning has served Flagstaff since 1999. Its window cleaners are background checked and industry safety trained. For high glass, the company uses pure water filtered to remove contaminants and minerals, delivered to a soft brush at the top of a pole. Residential service includes inside and outside windows, screens removed, cleaned and reinstalled, frames wiped inside and out, and inside sills wiped. Learn more about professional window cleaning.
Before scheduling, have the film brand and installation date available, and point out any lifting or other visible defect. Pine Country Window Cleaning offers a free estimate and guarantees its work. Call (928) 527-0671 or schedule online.